Demo Days for Storm the Castle!
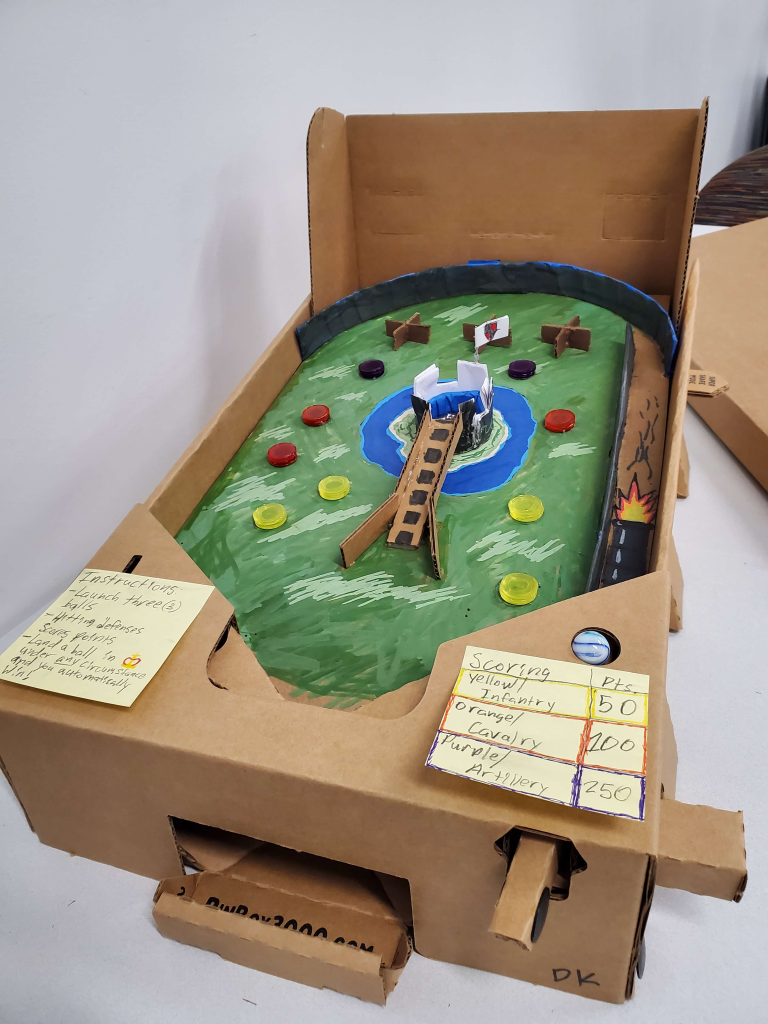
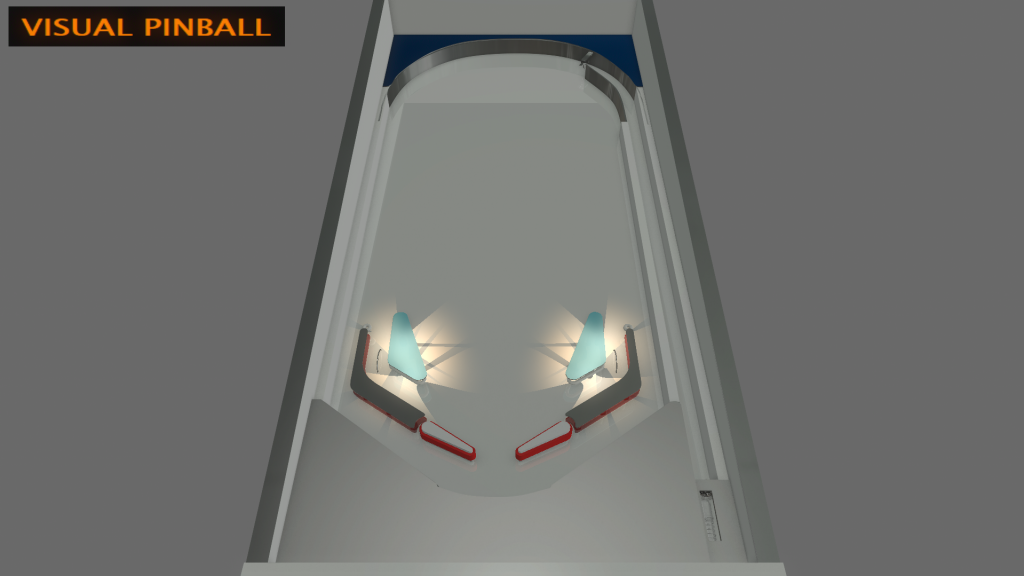
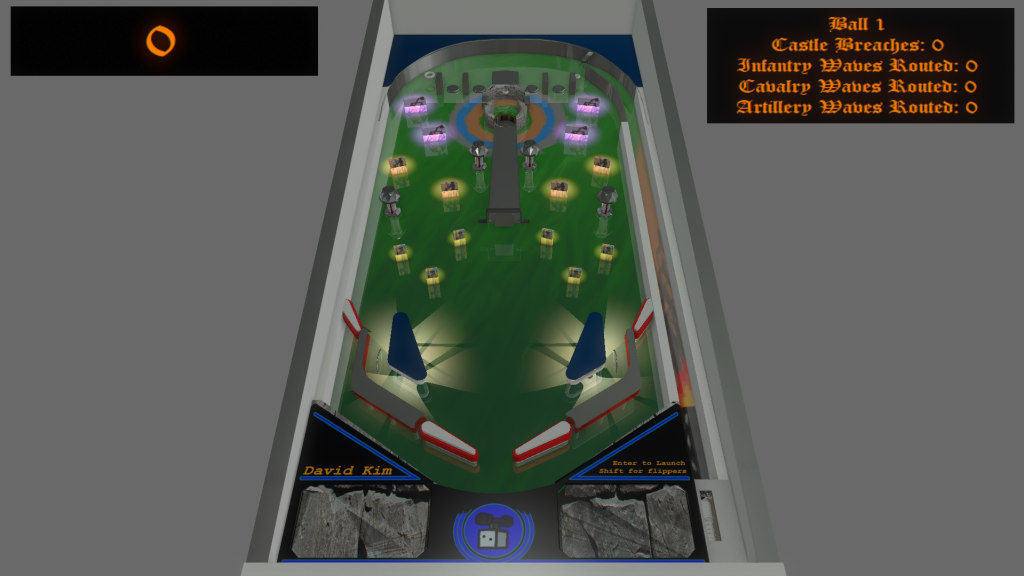
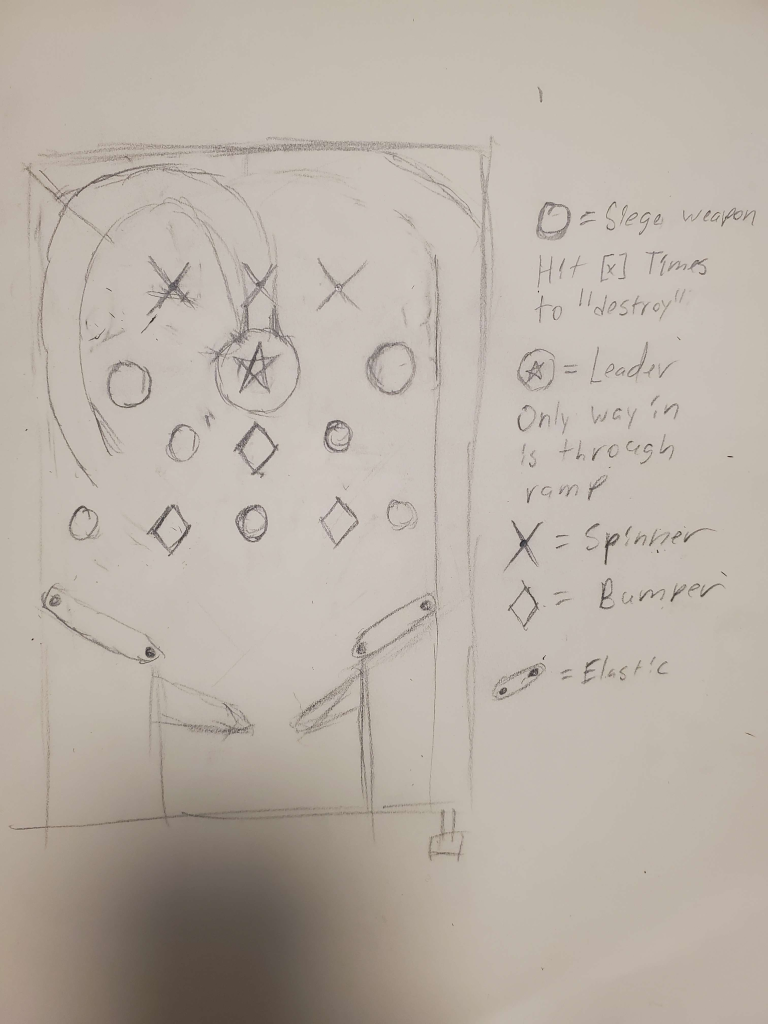
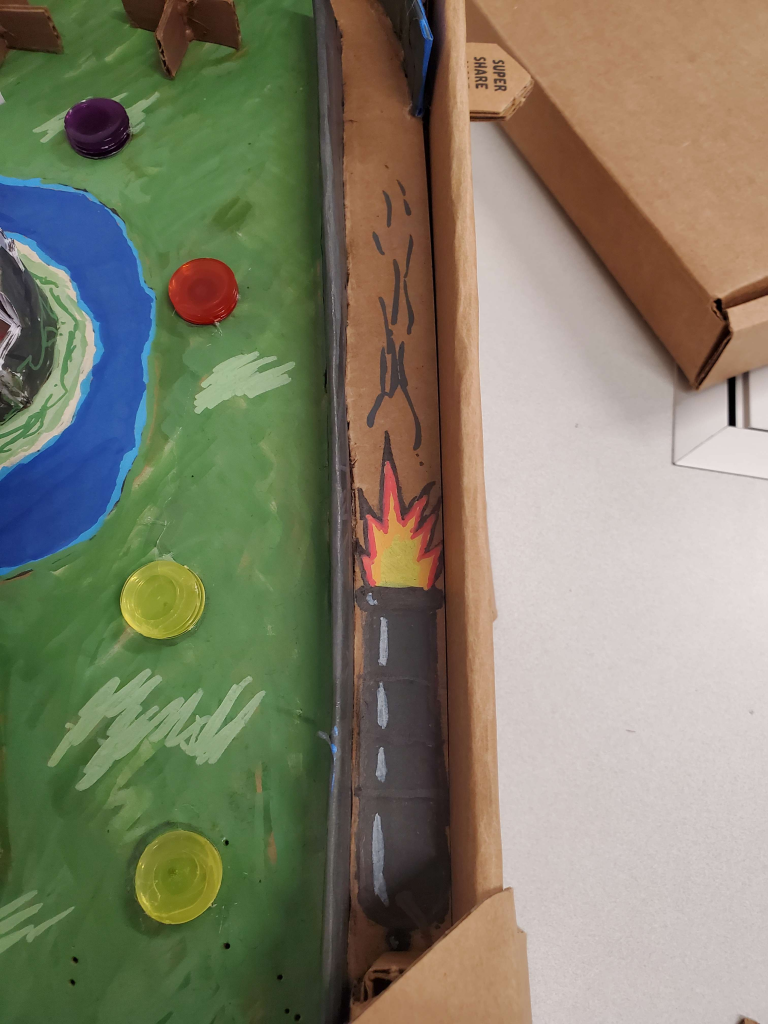
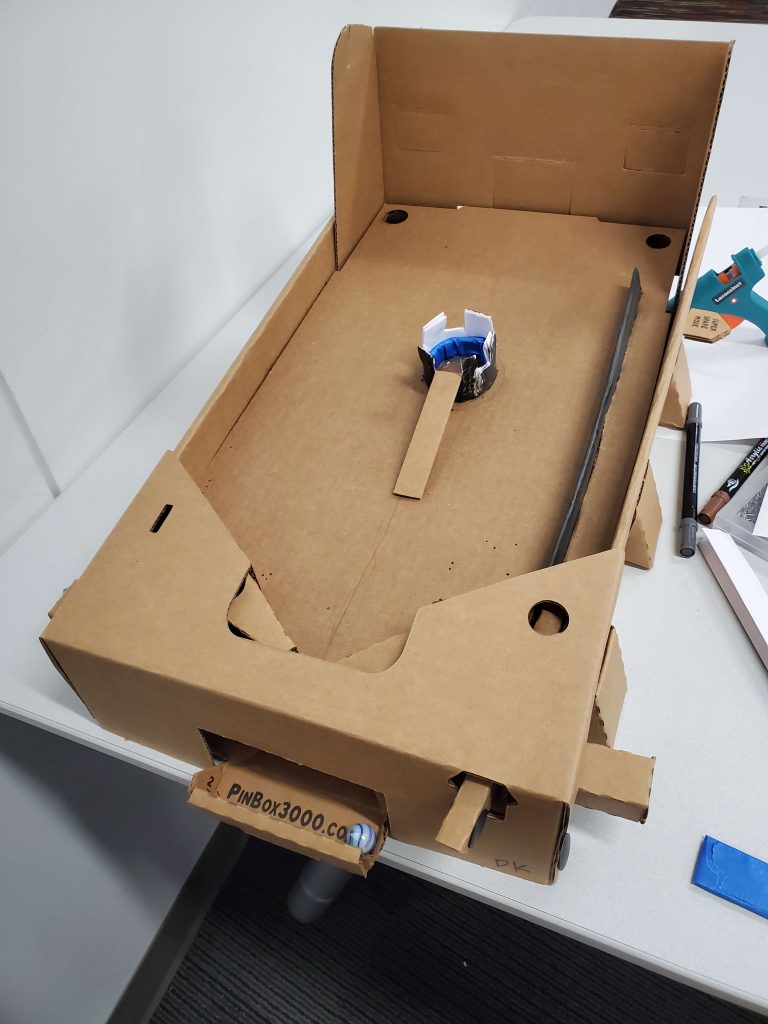
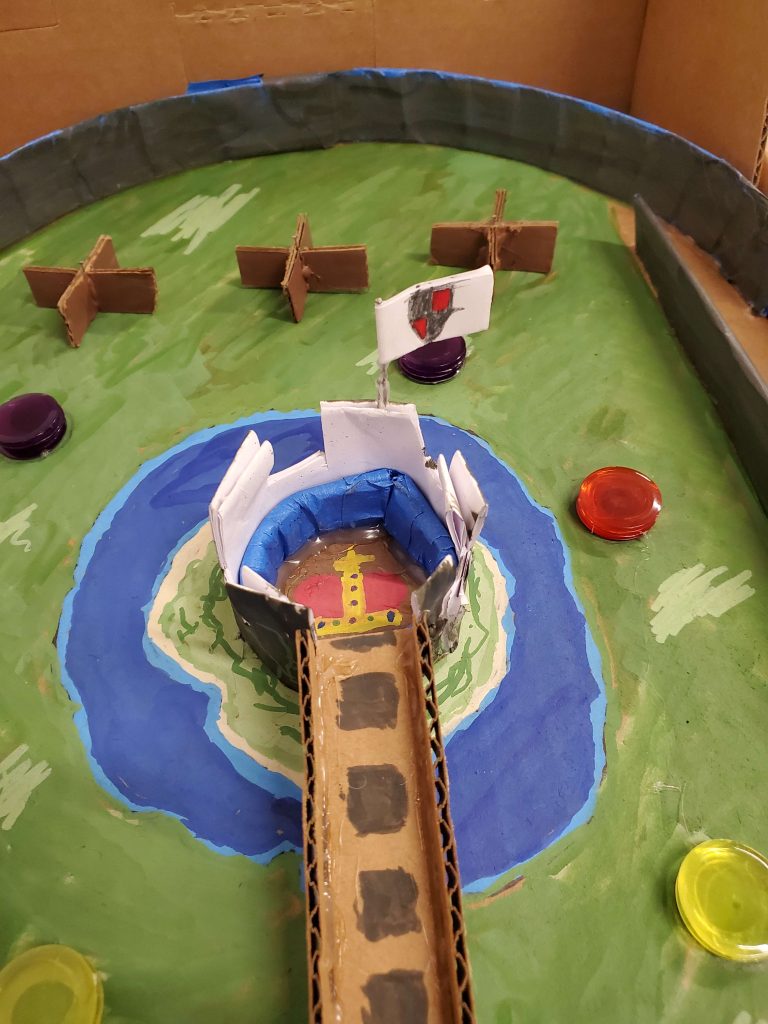
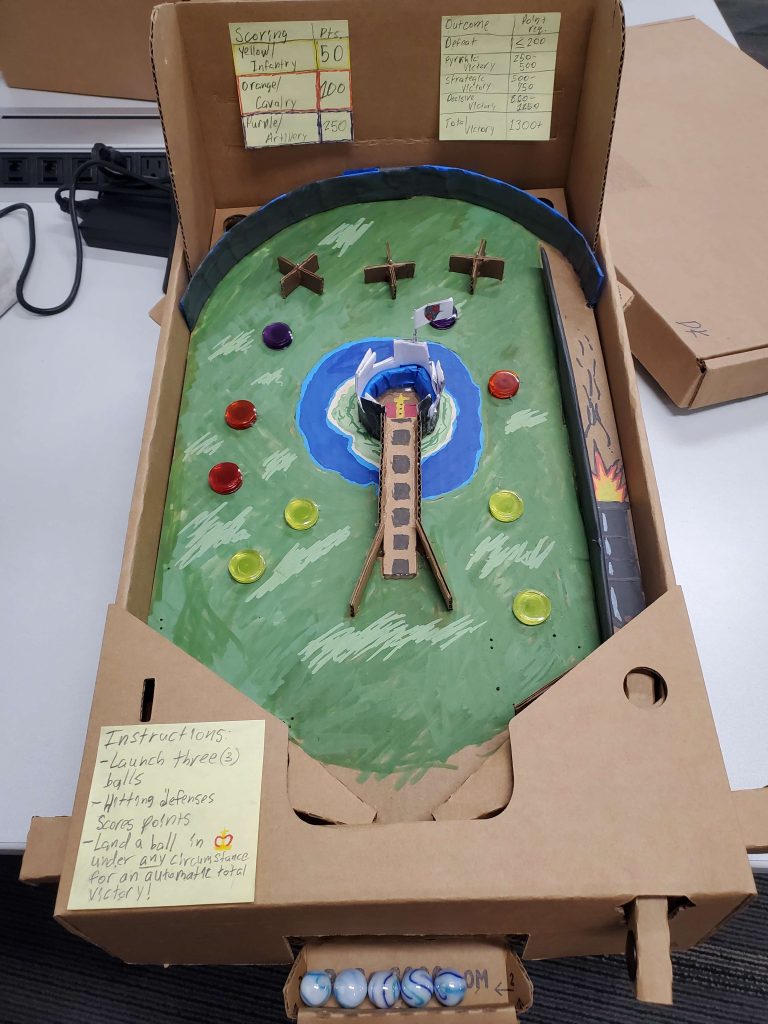
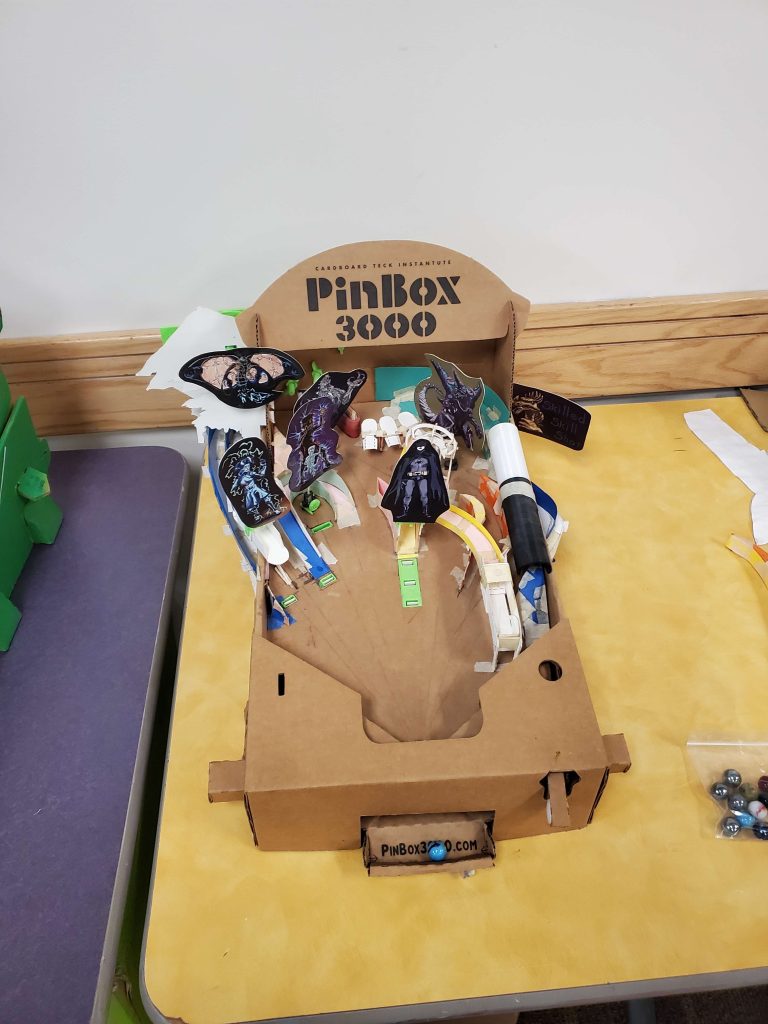
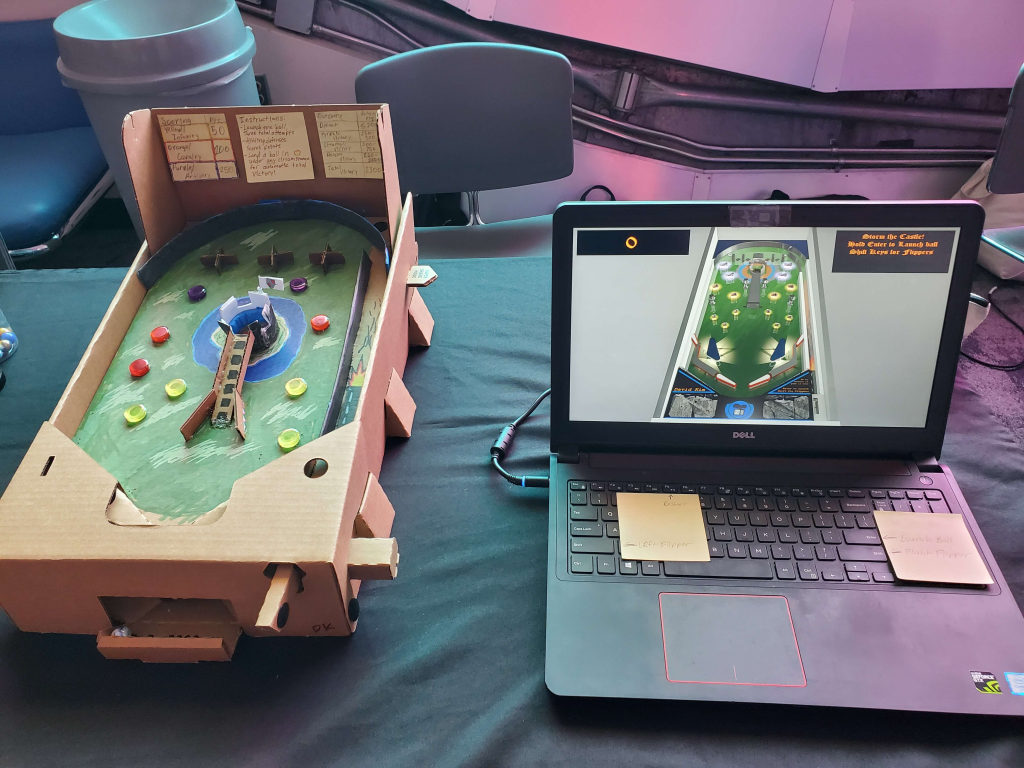
For our final, instead of a typical exam, our final was in the form of presenting and demonstrating our pinball tables at two events: Imagine RIT, RIT’s signature showcase events, and a pinball workshop hosted at the Strong National Museum of Play. As such, I had brought Storm the Castle! for demonstration, both in its physical layout and the version made with Visual Pinball.
Imagine RIT
Imagine RIT was hosted on April 26, 2025 across the entire RIT campus, showcasing all the various aspects of student activity at the university; for us, it was a place to show off what we’ve been working on all semester.

I showed up a bit early, mainly to make sure I was there, but also to get the gist of how others were running the table. It was mainly just answering questions or explaining how the Pinbox 3000 kits worked, but it also served as a way to promote the upcoming workshop at the Strong Museum, which was exactly one week later.
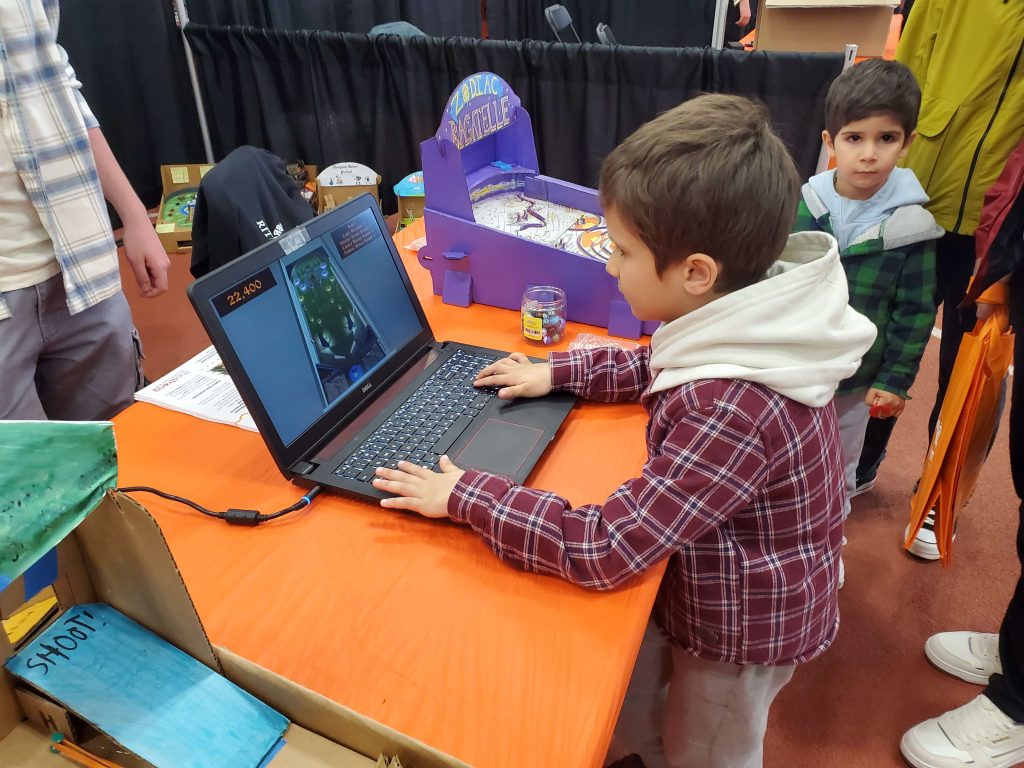
Being at the table was a very interesting experience, all things considered. We had people of all ages show up, but there were a significant amount of children; I anticipated seeing children, just not to the extent that we got.
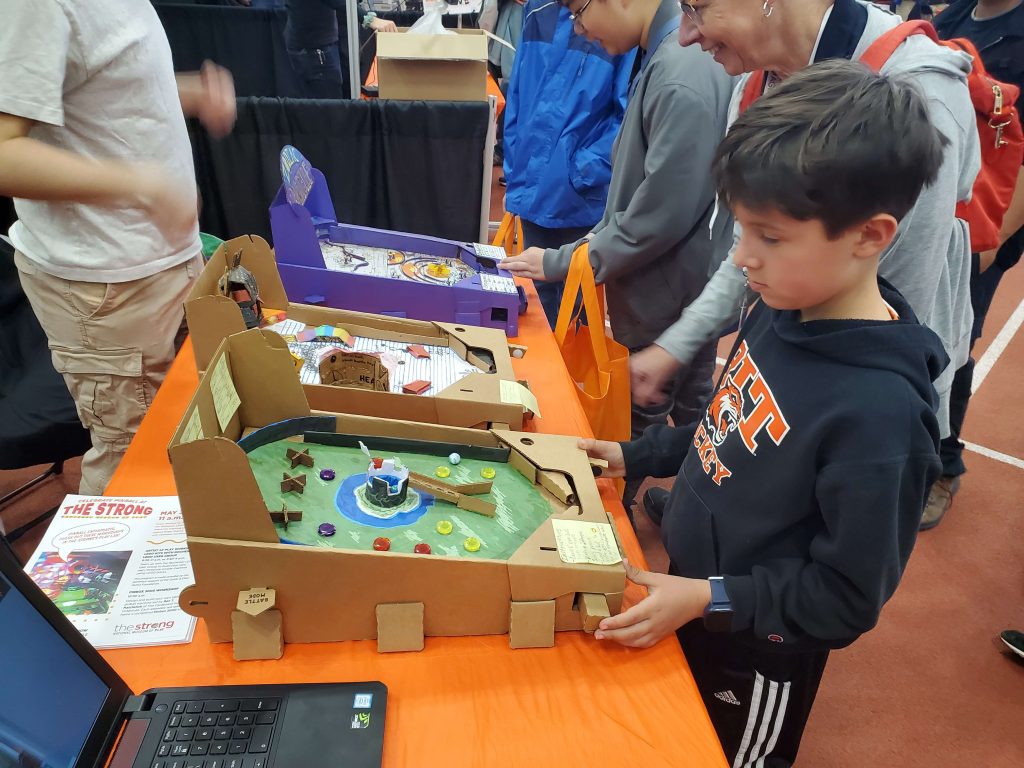
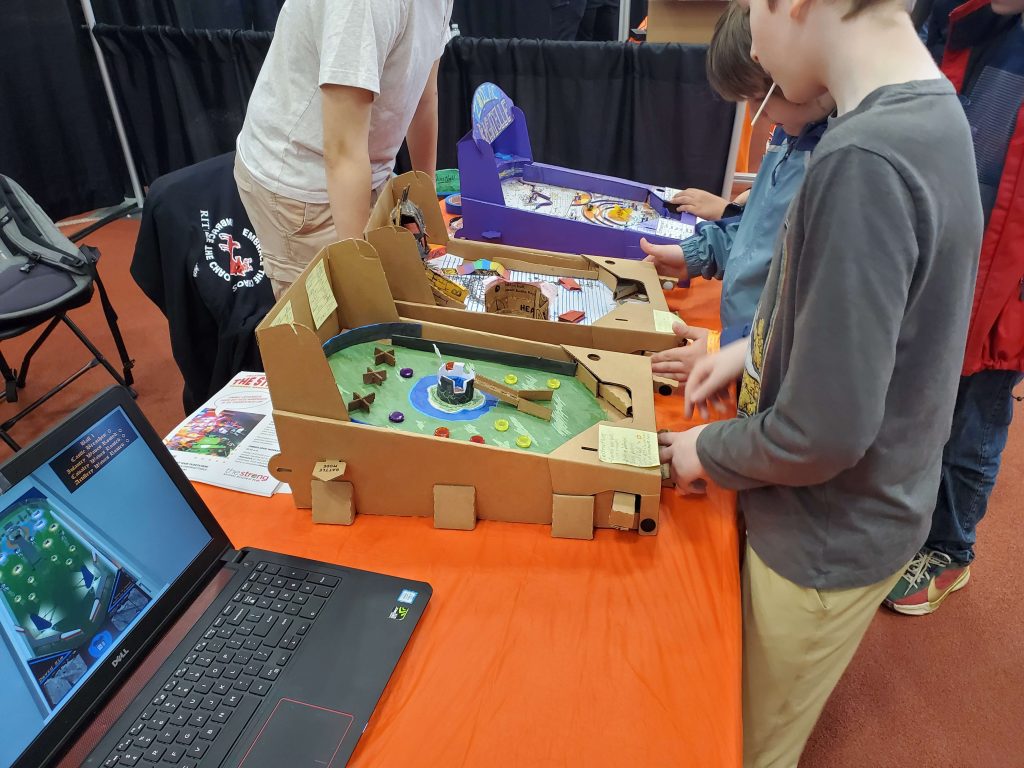
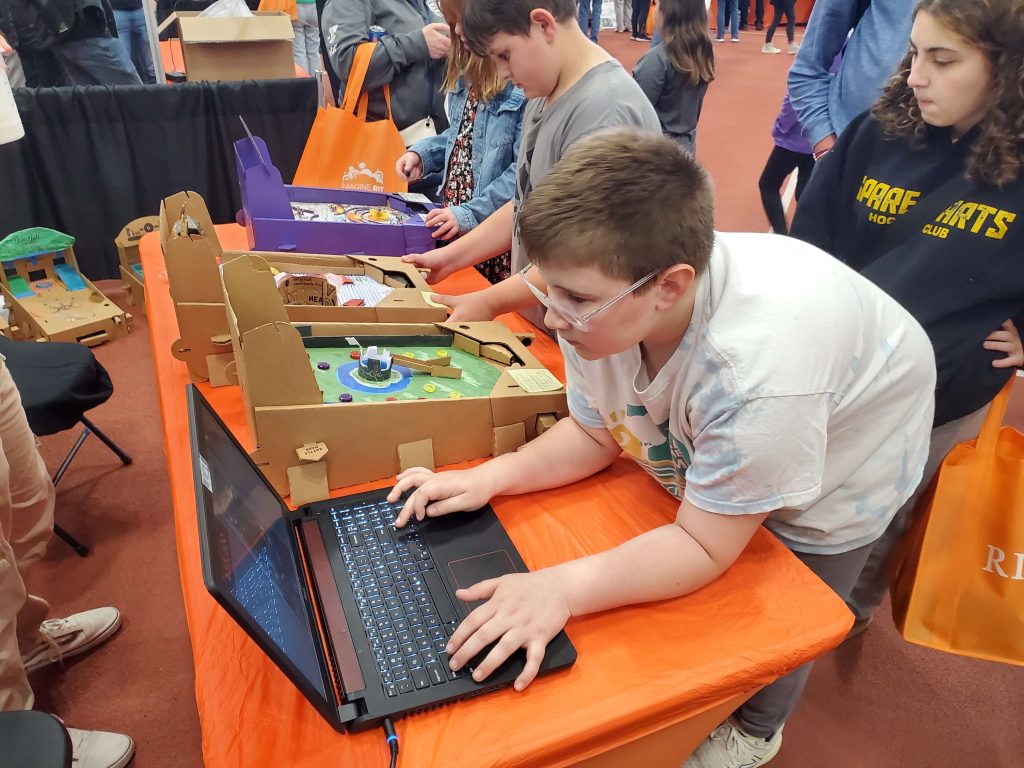
Most of the questions came from adults asking about the class, or the design process that came behind making the tables. A lot of the times the only things we’d say to the kids were to just be more gentle with the machines, as they would mindlessly smash the flippers on the Pinboxes. In fact, I had to replace the rubber bands on my table because kids wouldn’t stop being so aggressive. (I don’t think Storm the Castle! would’ve been my final concept had I known most of the people trying it would be kids…)
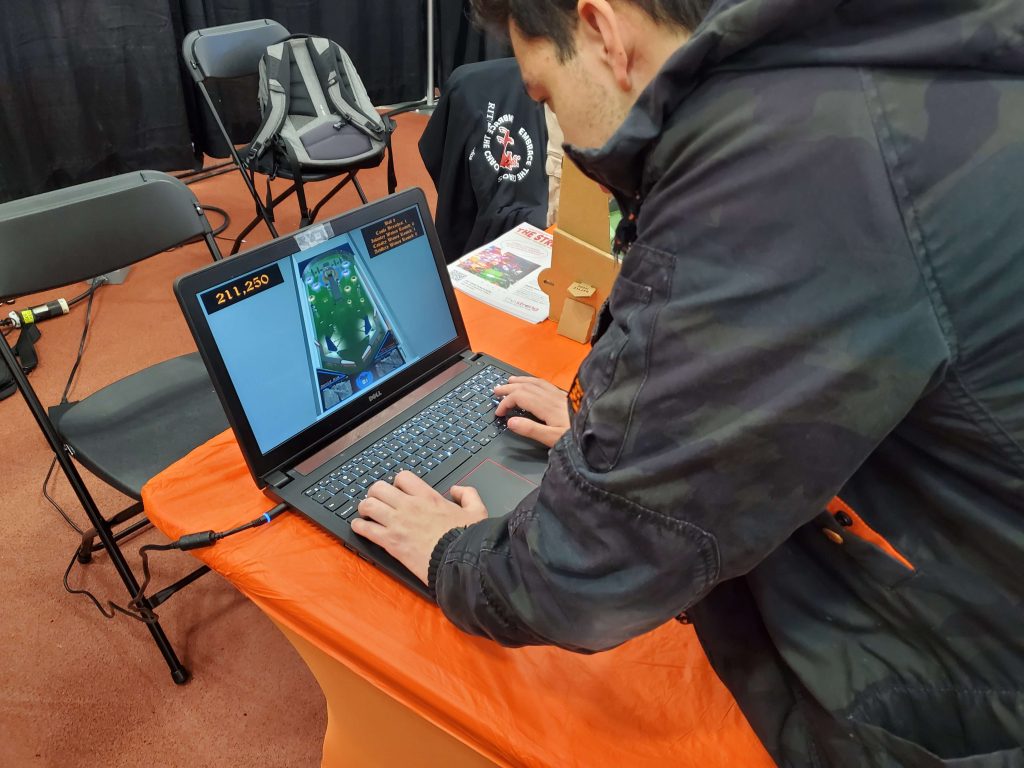
Since I spent more time at Imagine RIT than I initially anticipated, I left the Visual Pinball version of Storm the Castle! at the table for people to look at; there weren’t as many comments on that, but I suppose that’s fair given the fact that there were cardboard pinball tables right next to it, and those are definitely more of a rarity.
Refinement
Since we had a week between Imagine RIT and the Pinball workshop at the Strong Museum, we had one last class before Finals Week to tweak any issues we had with our Pinboxes or Visual Pinball tables. Since I’d basically already finished the latter already, I just used that time to repair my table; I set some more hot glue on loose spaces, replaced the broken rubber bands on my kit, and fixed up the bent flag on the castle. Besides that, there wasn’t much left to do besides bag up the Pinbox and get it ready for a trip to the Strong.
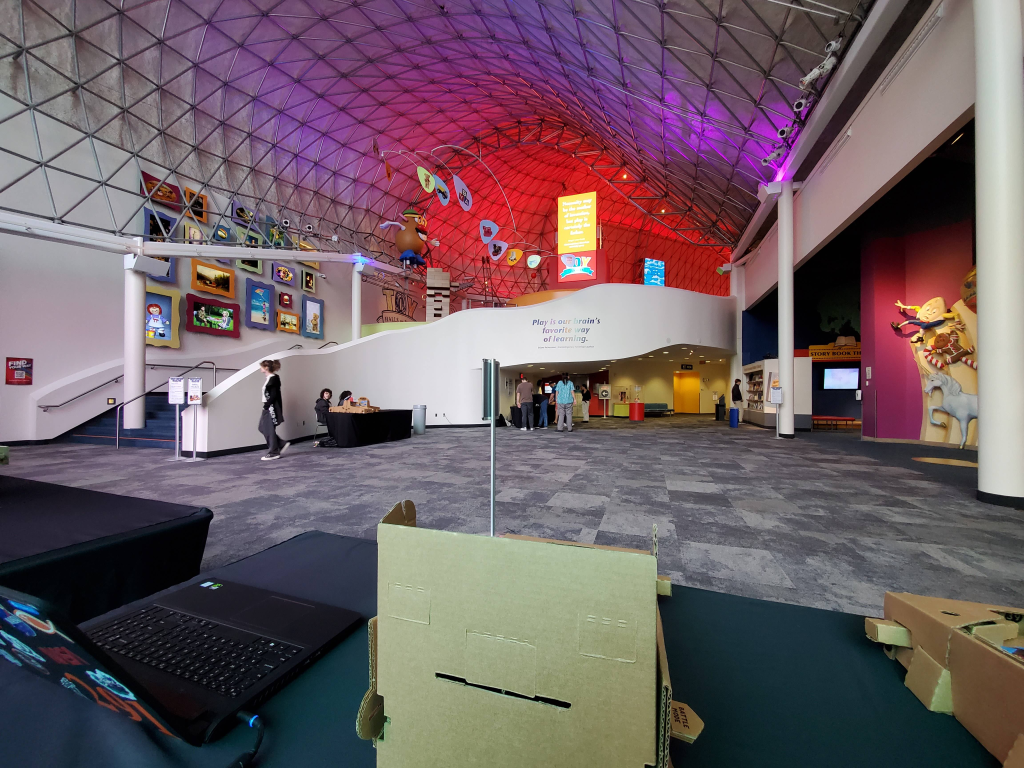
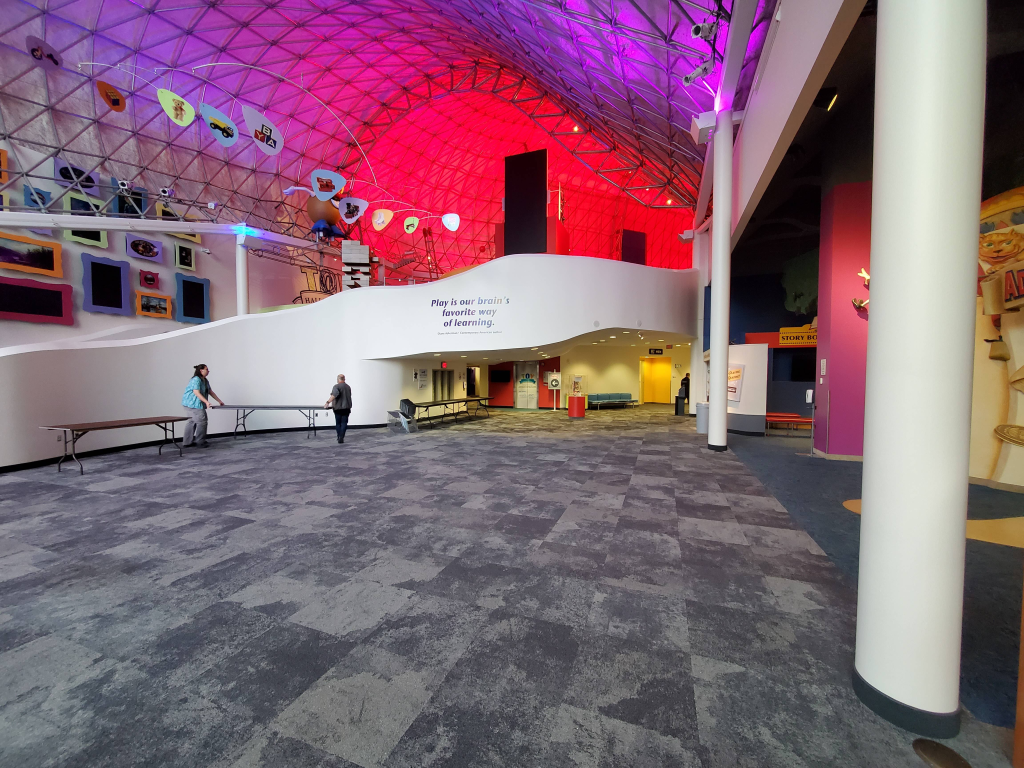
The Strong National Museum of Play
In case you’re not from around the Rochester area, The Strong National Museum of Play is a museum dedicated to, well, playing; whether it’s toys, board games, video games, the Strong is a place for people of all ages to understand this sort of entertainment. Because of the large impact that games have on play, they’re featured very prominently, and pinball is no exception to that. The Strong has Pinball Playfields, an exhibit dedicated to the history of pinball, with many machines available for anyone to play (given they have the tokens, of course.)
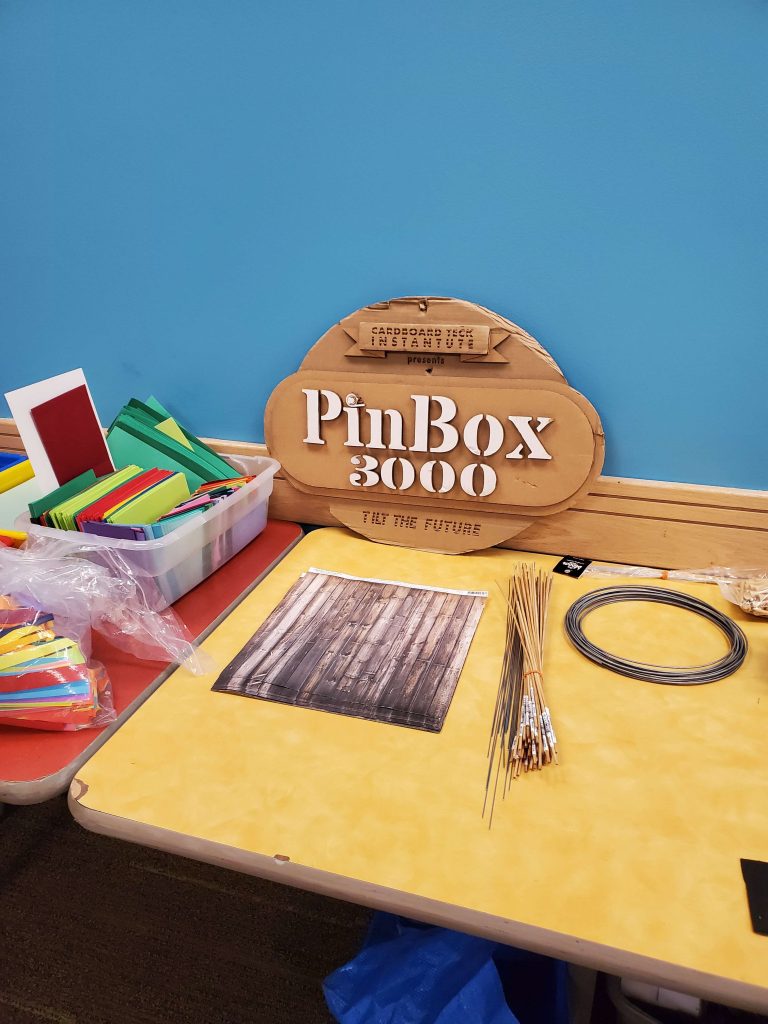
On May 3, 2025, our class helped with a workshop all about making Pinbox 3000 kits just like the ones we made for our class, assisted by none other than one of the co-creators of the Pinbox 3000 kit (and founder of the Cardboard Deck Instantute) Ben t. Matchstick. Not only were our kits showcased for people to see, but several other kits made by the Cardboard Teck Instantute team were also present, executing ideas that I wish I could’ve come up with. It was a really pleasant delight to meet with some of the team there and talk with them a bit about the kits that we’ve grown familiar with over the semester.
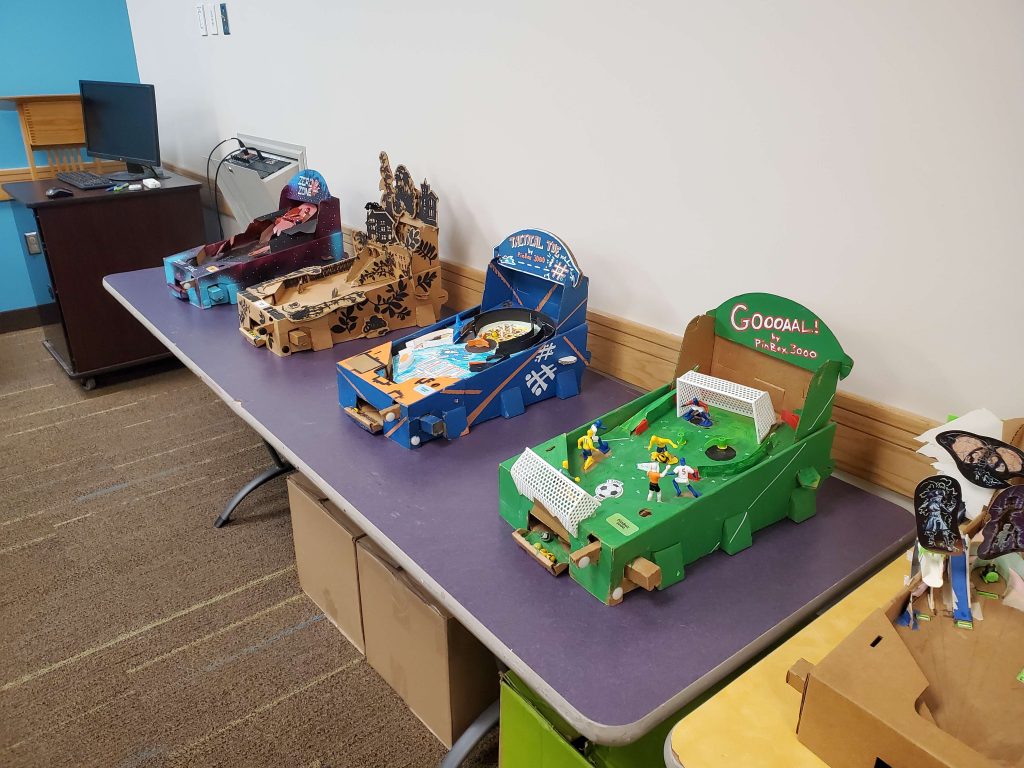
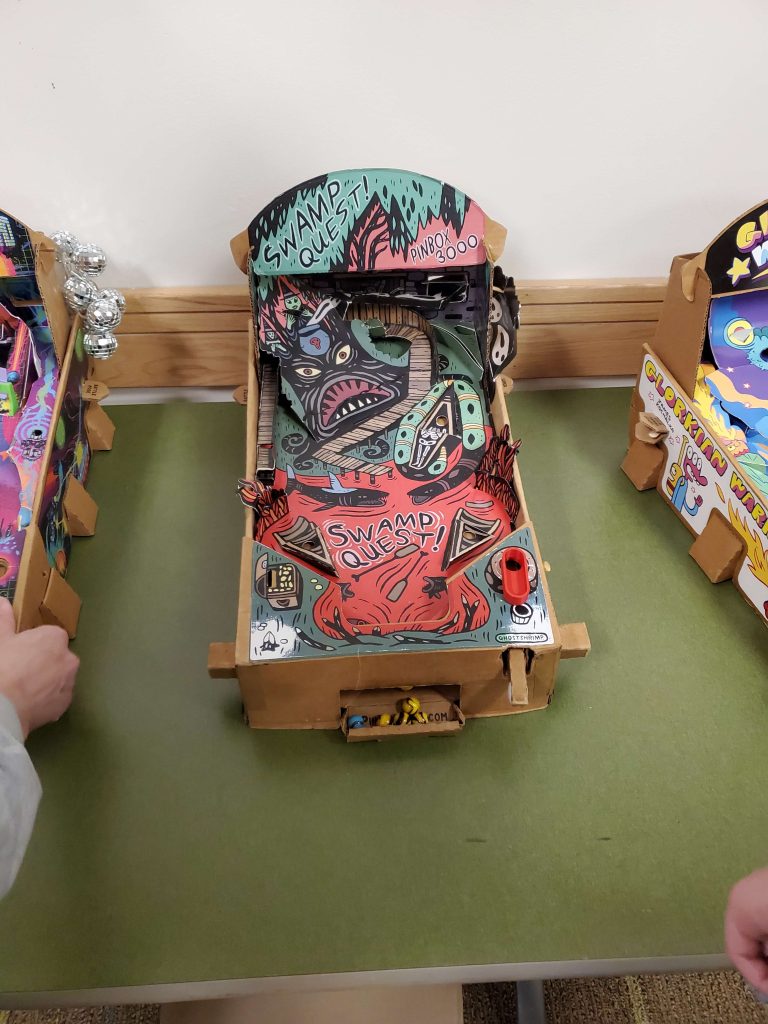
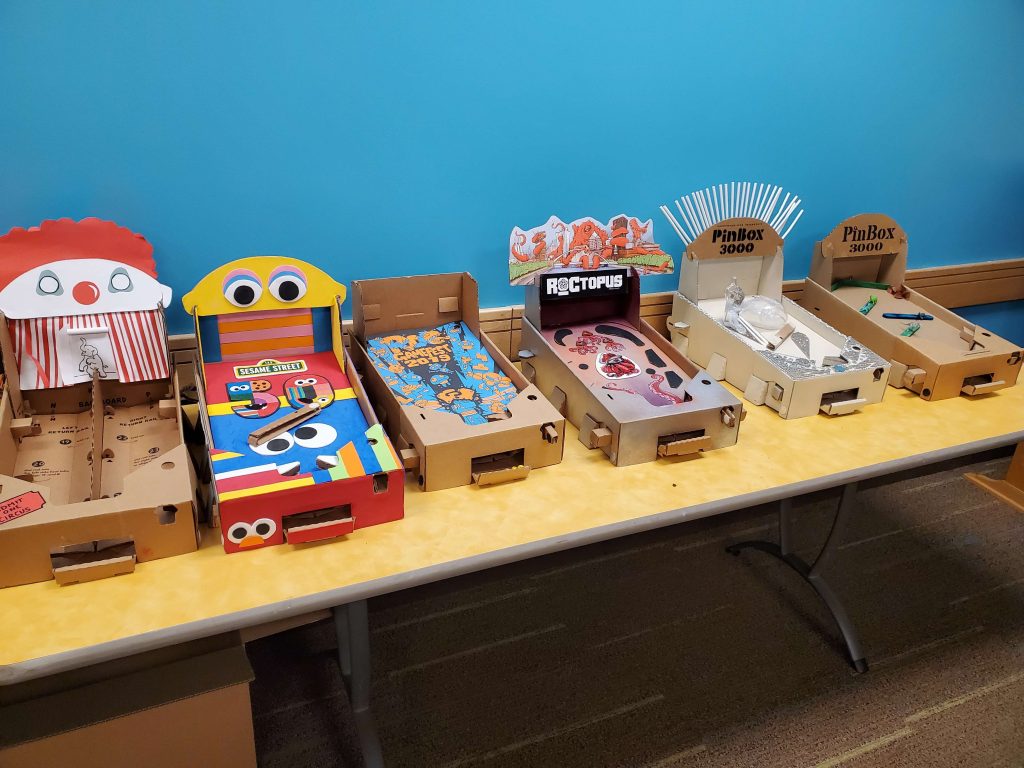
We had demo tables up just like the ones at Imagine, but this time the Visual Pinball tables we made had a bit more of a highlight. Passers-by noticed the Pinboxes more, mainly due to the concept of making a pinball table out of cardboard. Ben came by and played all of our tables, and having one of the creators of the Pinbox 3000 system compliment your idea and execution for a pinball table was a very nice feeling. Of course, because the Strong is all about play, more children were present, which meant the ever-continuing struggle of making sure they don’t smash in the flippers to the point of breakage. Besides that, both the workshop and our showcases went off without any hitches.
After that, we had the rest of the time to ourselves, so I just went around the Strong Museum and its numerous exhibits (mainly getting some calories burned on the StepManiaX stage) until the others in my carpool group had enough.
Postmortem
Since the Strong Museum workshop was our last real “assignment” for this class, there aren’t going to be any more posts or updates from me here. I’m deciding to use this last post to talk about my time with this class.
I chose to take this class as I was still in need of filling up some free electives, and I had gotten an email from the IGM department in regards to some classes that would be available for the spring semester. Since this email came to me at the right time, I decided to take a look. None of the classes really stuck out to me, save for a class called “History and Design of Pinball”. I think you know what happened after that. I emailed Professor Jacobs, he allowed me to enroll in the course, and it all started to come together after that.
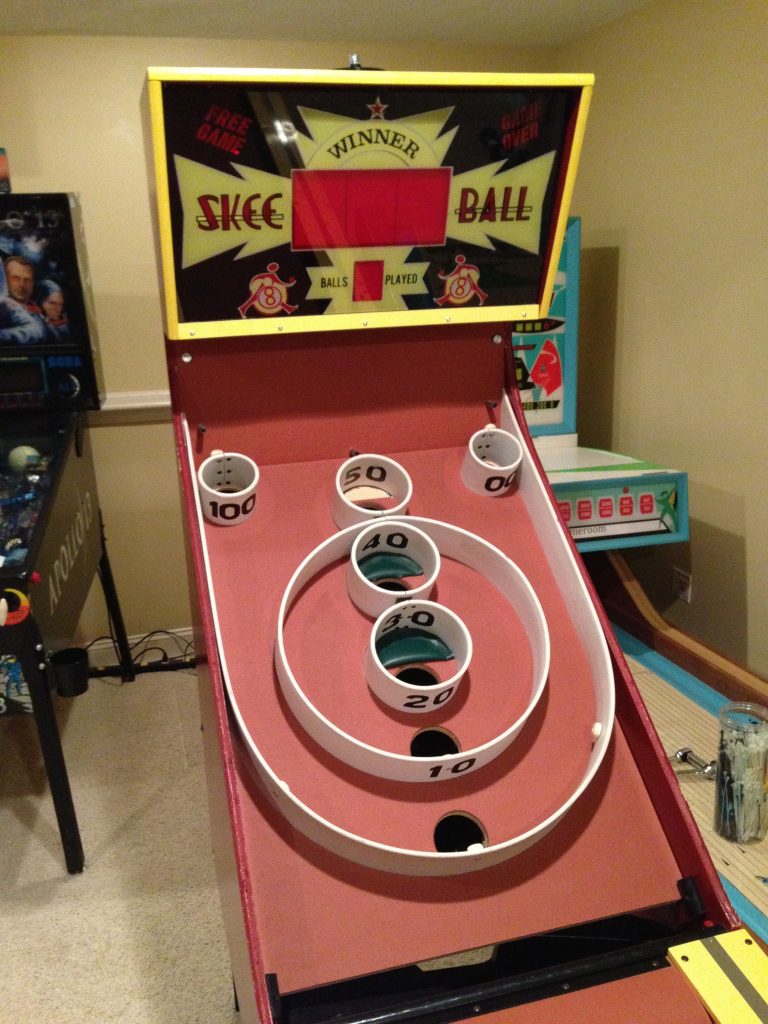
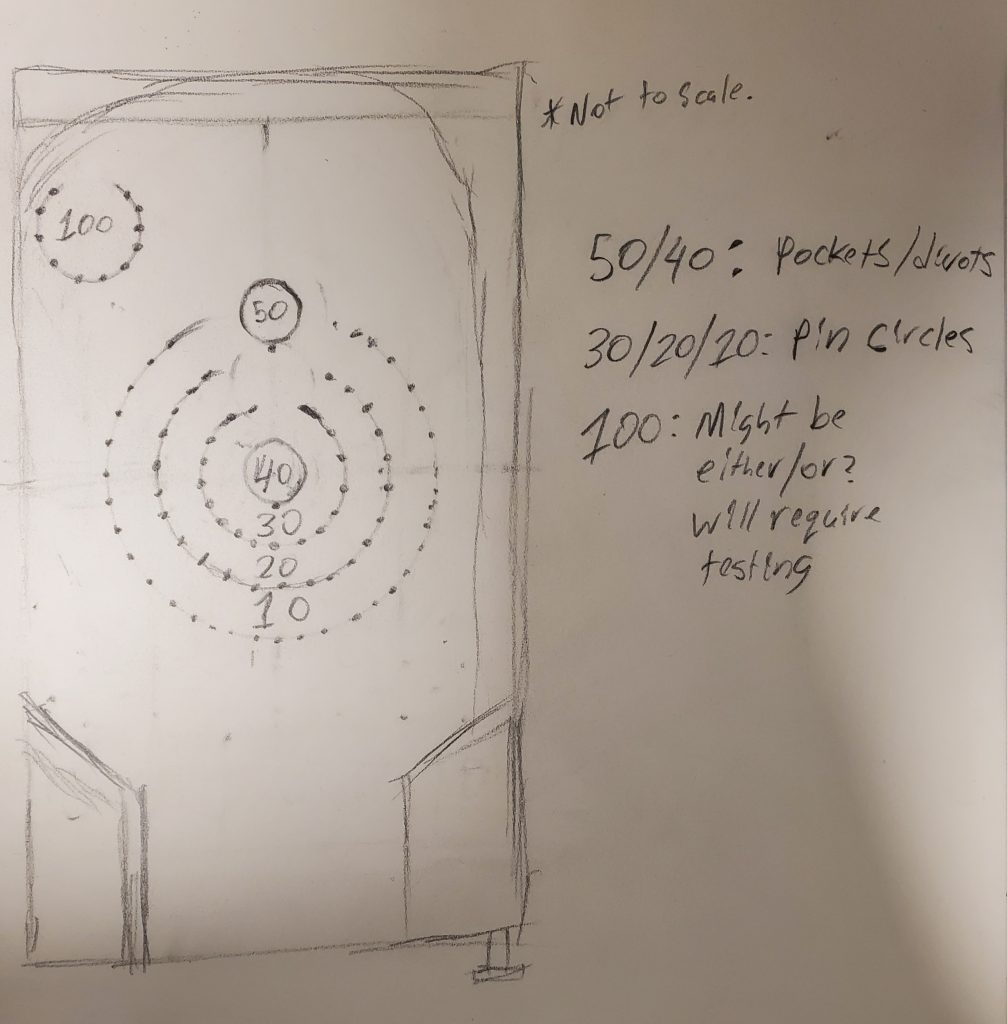
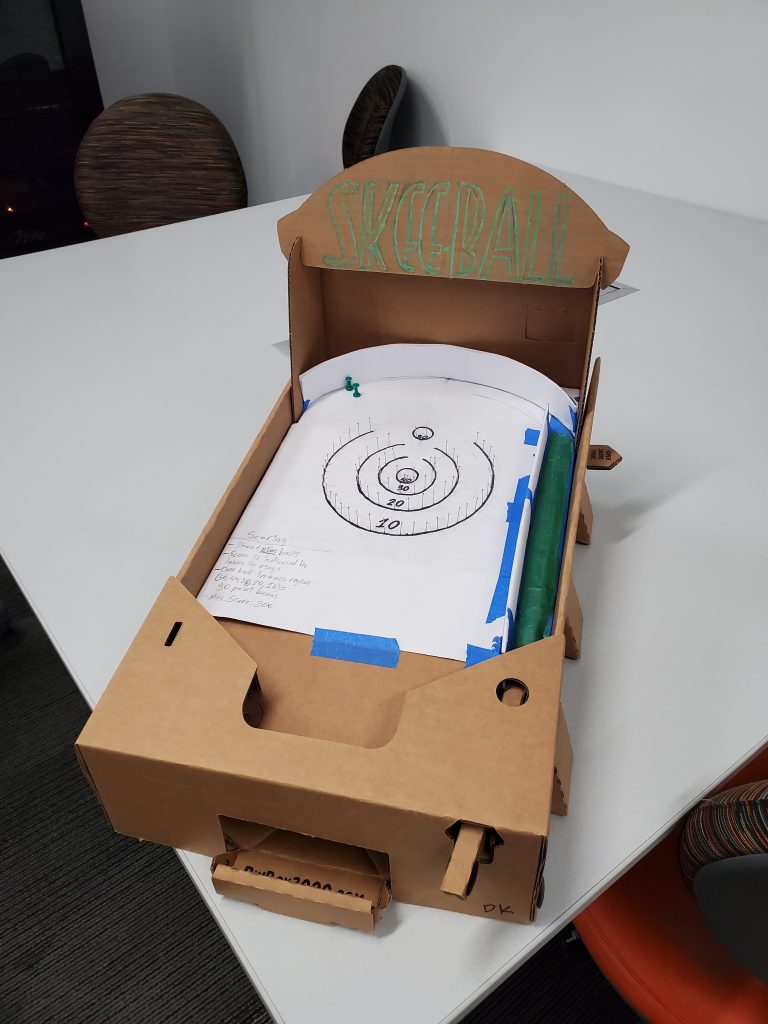
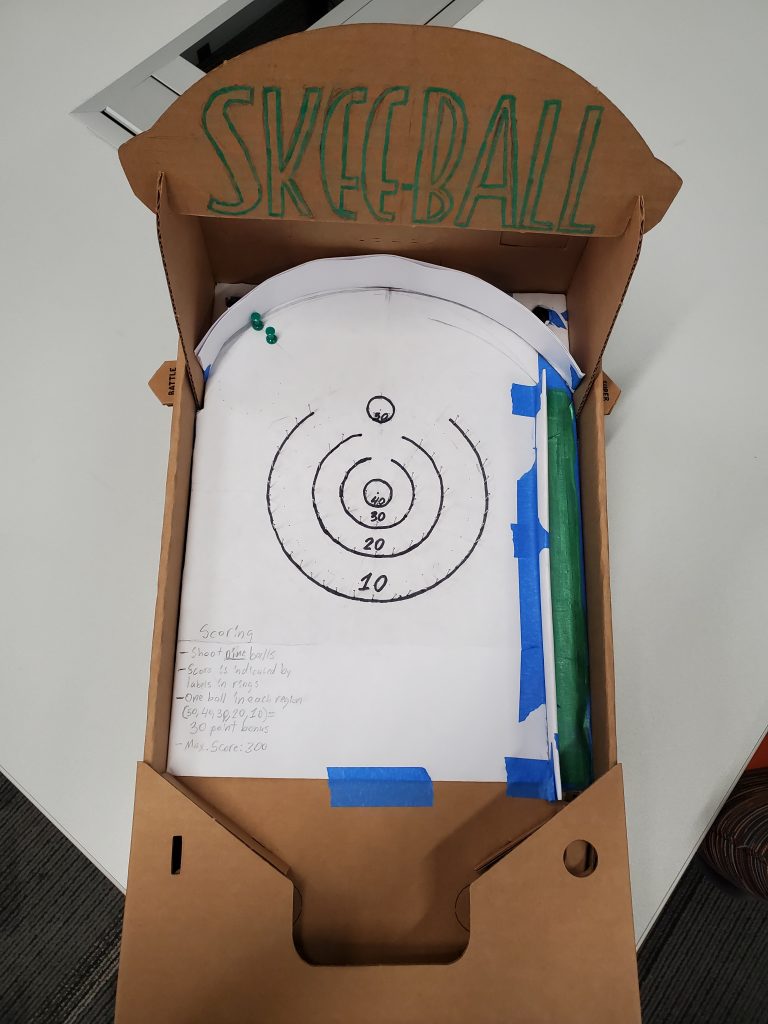
I enjoyed my time putting everything together for this class, from the Skee-Balltelle to both incarnations of Storm the Castle!, and while there were some notable crunch times to get things done (one hour is not enough to get any work done in this class, sadly), I’m still very happy with what came out of my efforts, and it seemed like others enjoyed them, which matters a lot more to me. In fact, it seemed like a lot of people held Storm the Castle in high regard amongst the class’s Visual Pinball tables, which gave me a feeling of solid satisfaction.
This class allowed me to exercise some creativity on something this semester, which was already full of required classes that gave me some significant stress, and honestly just learning about the history of something like pinball is fascinating. If you find yourself needing a free elective and you’re even only slightly interested in pinball, try and sign up for this class. You won’t regret it.
Professor Jacobs also announced his retirement at the end of this semester, so I’d like to wish him the very best in the future, as well as thank him once again for allowing me to take this course.