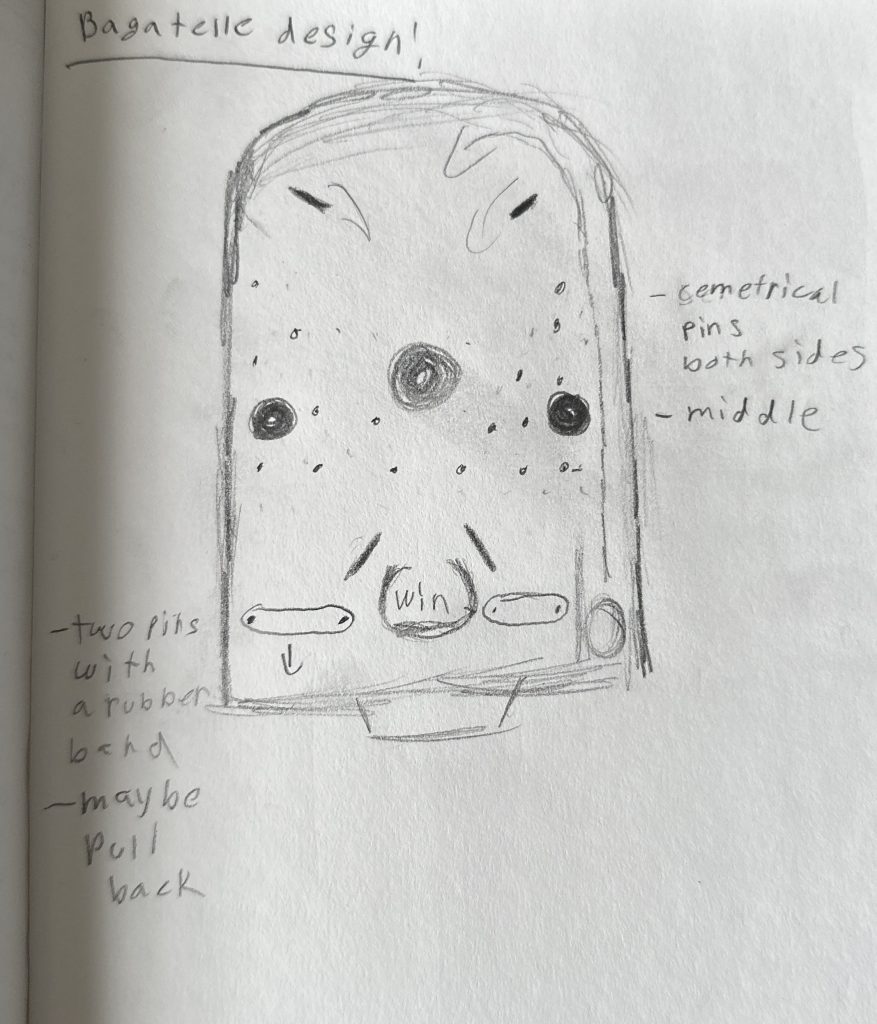
Initial Design Ideas
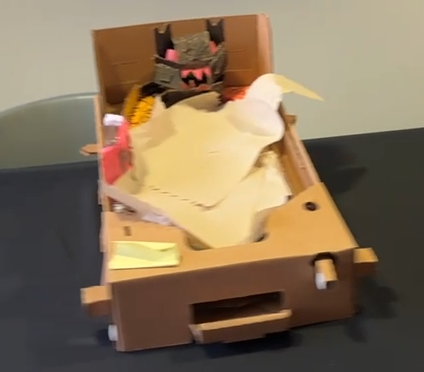
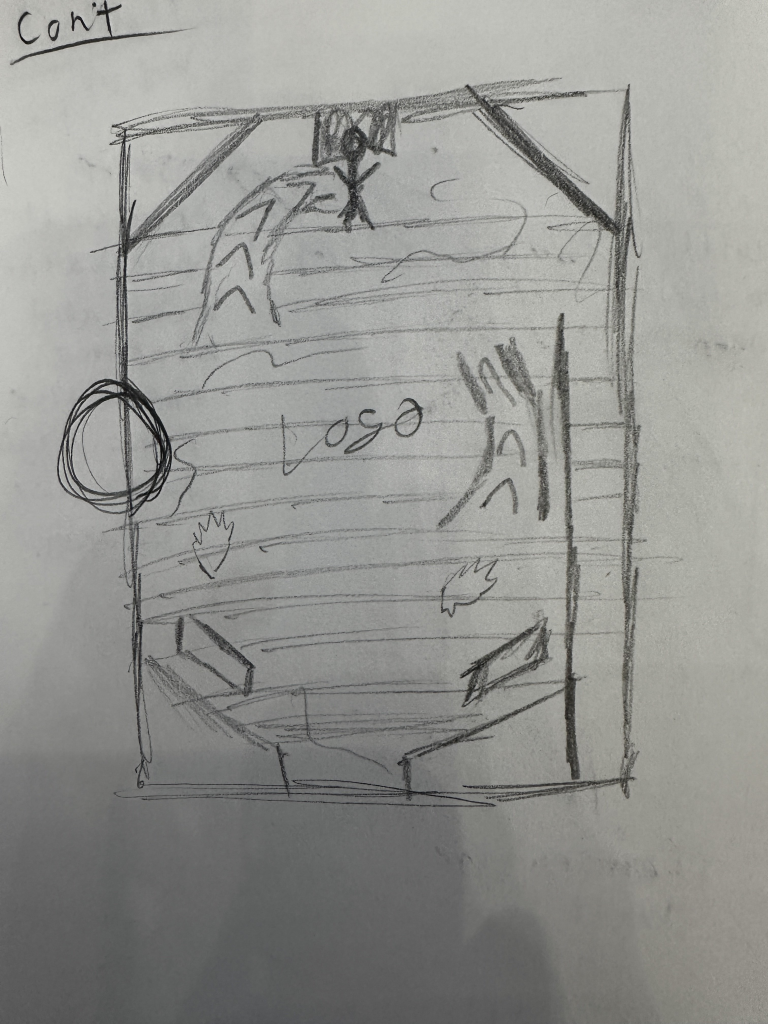
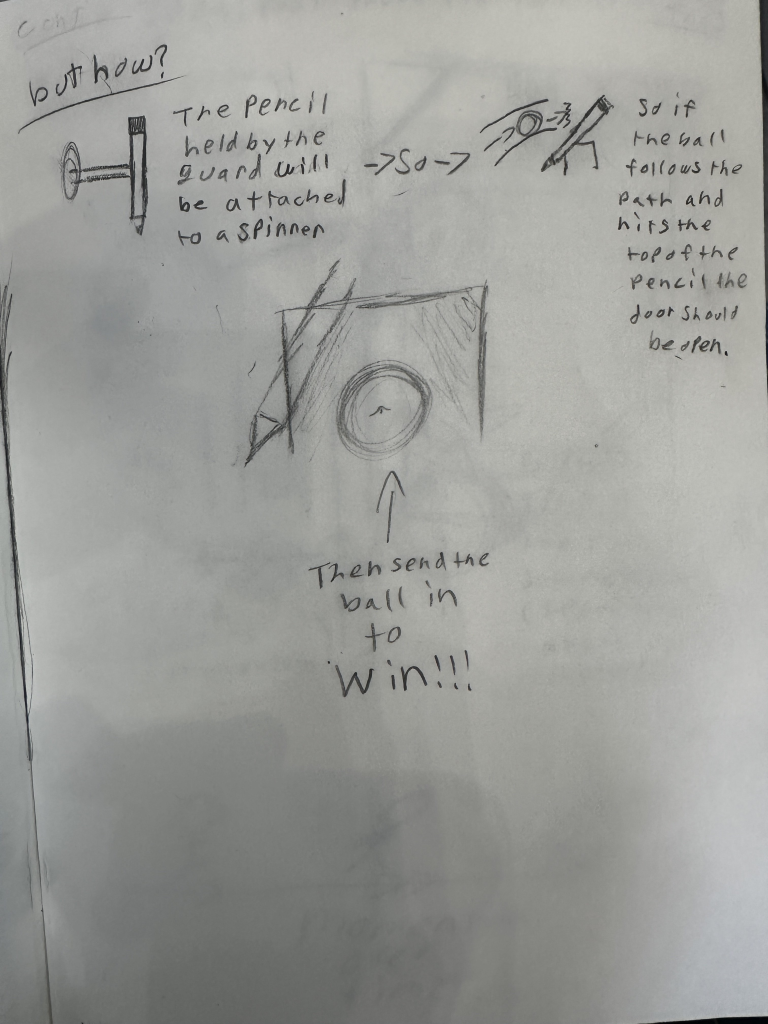
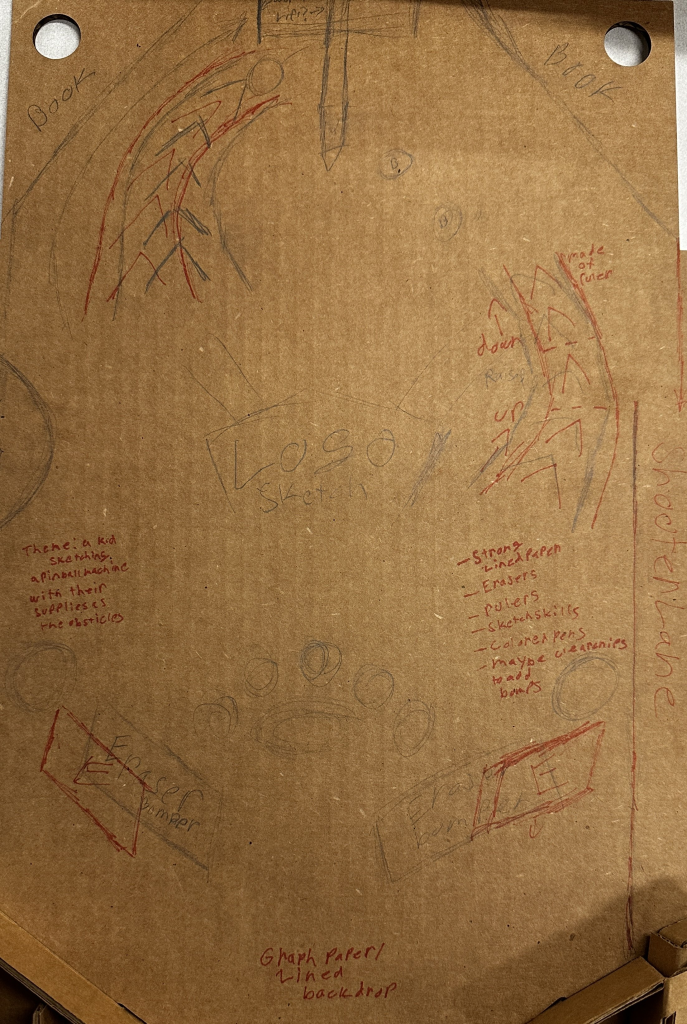
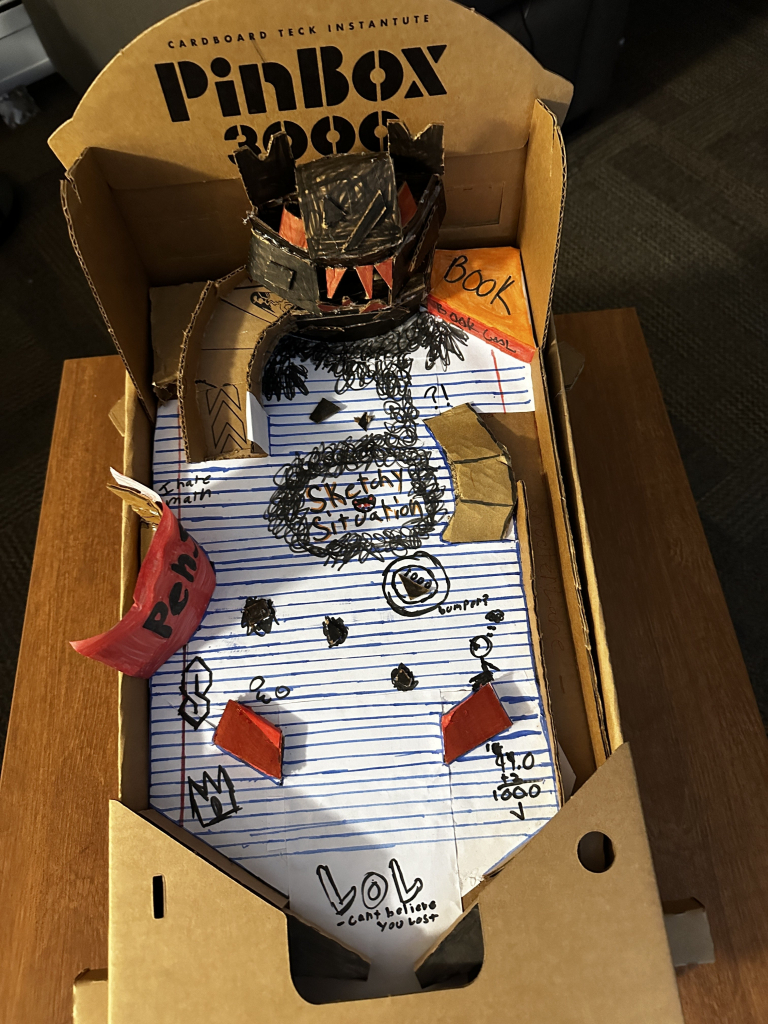
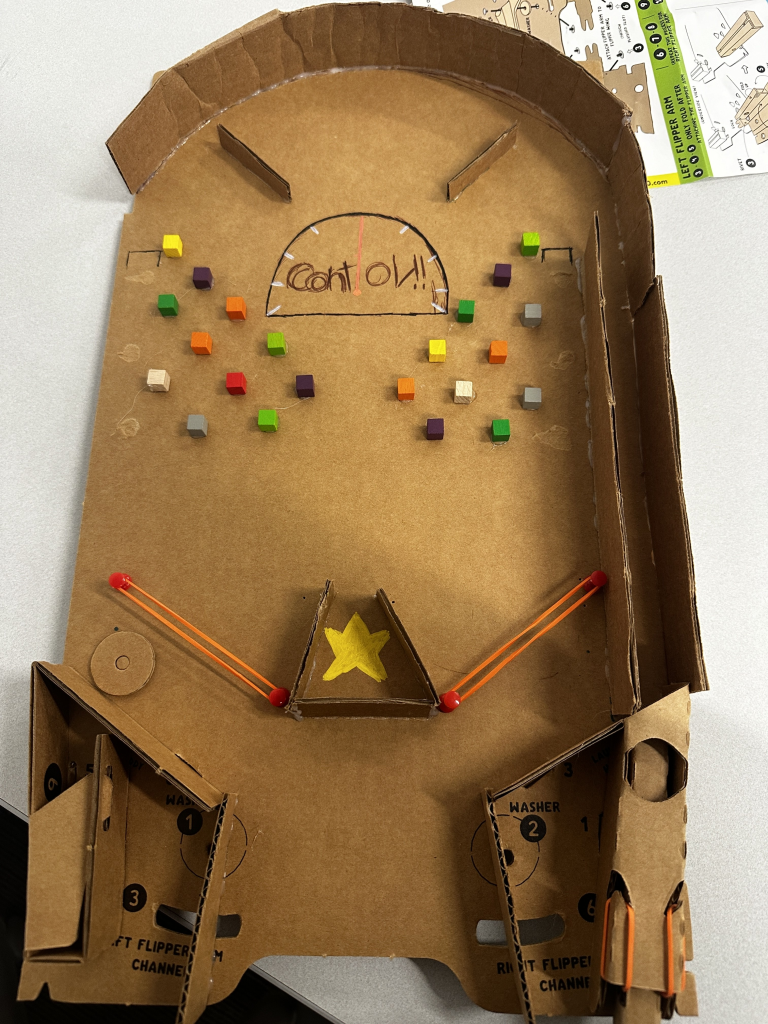
When I began planning the digital version of Sketchy Situation, my goal was to do a one-to-one adaptation of the physical version. I didn’t want to reinvent the machine, I just wanted to elevate it. My plan was to preserve the layout, theme, and game mechanics from my cardboard Pinbox while introducing one key feature missing from the original: a proper point system.
In the physical version, the game focused on a singular win condition, hit the monster’s mouth and you win. But in the digital version, I wanted the game to feel more like traditional pinball. This meant rewarding players for hitting different areas, encouraging replayability through score-chasing, and giving feedback beyond just winning or losing.

First Digital Design
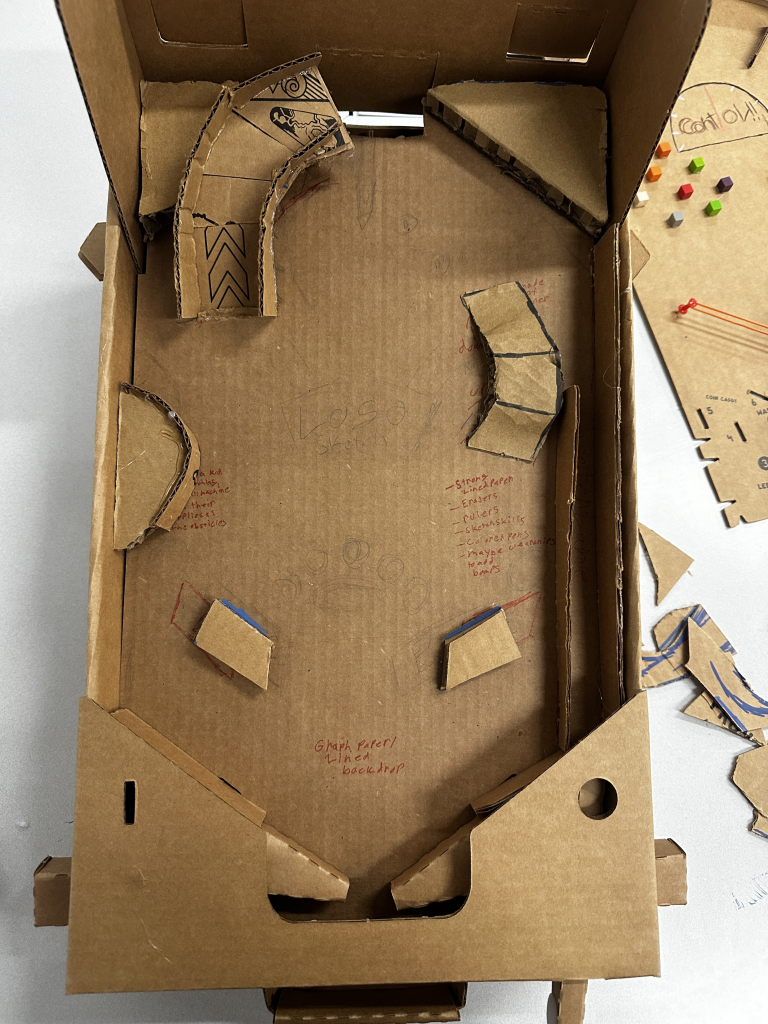
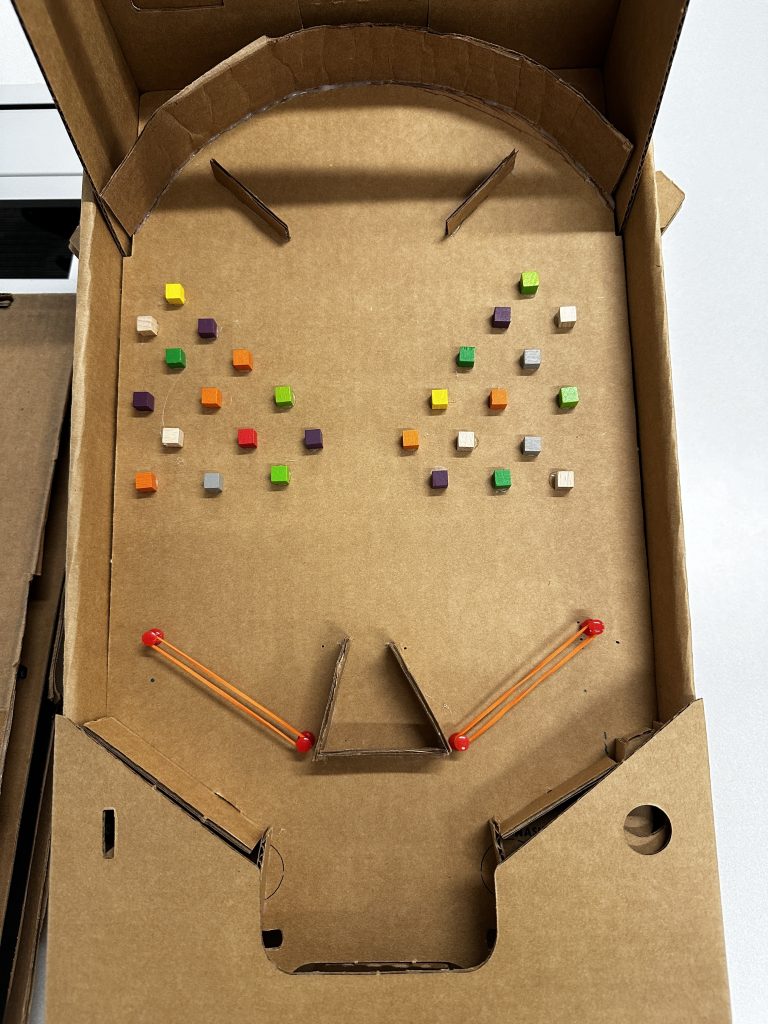
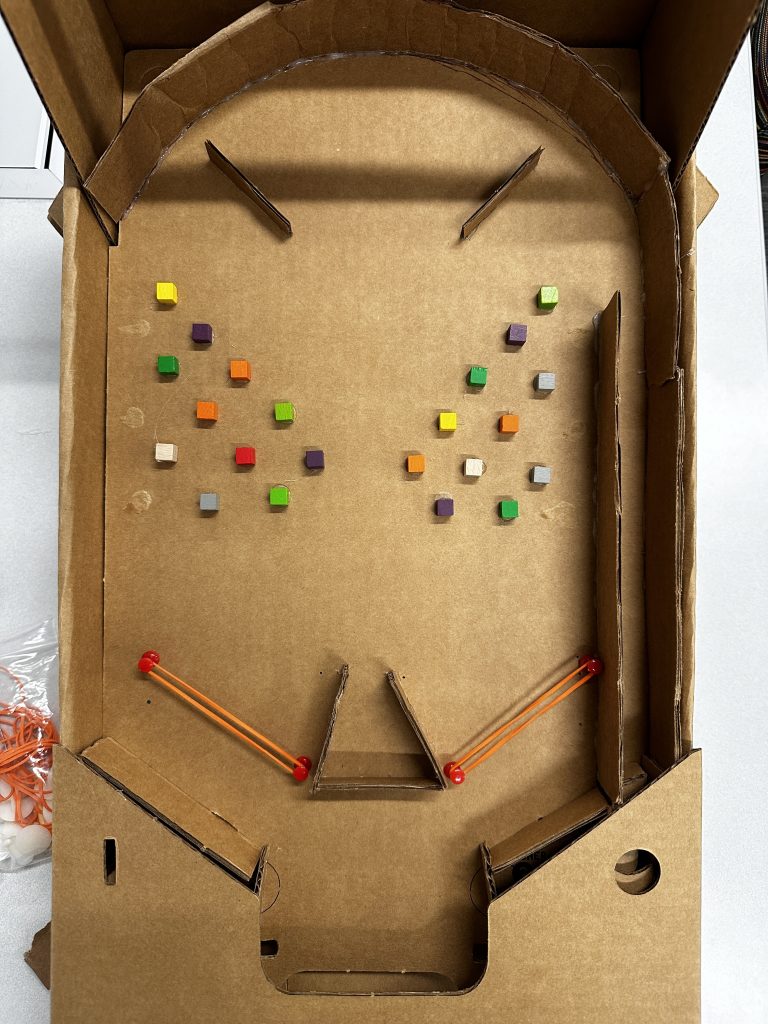
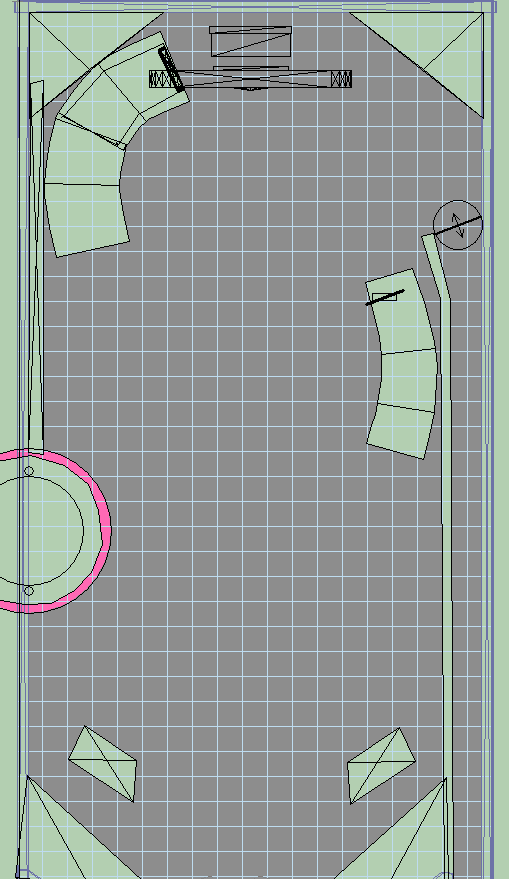
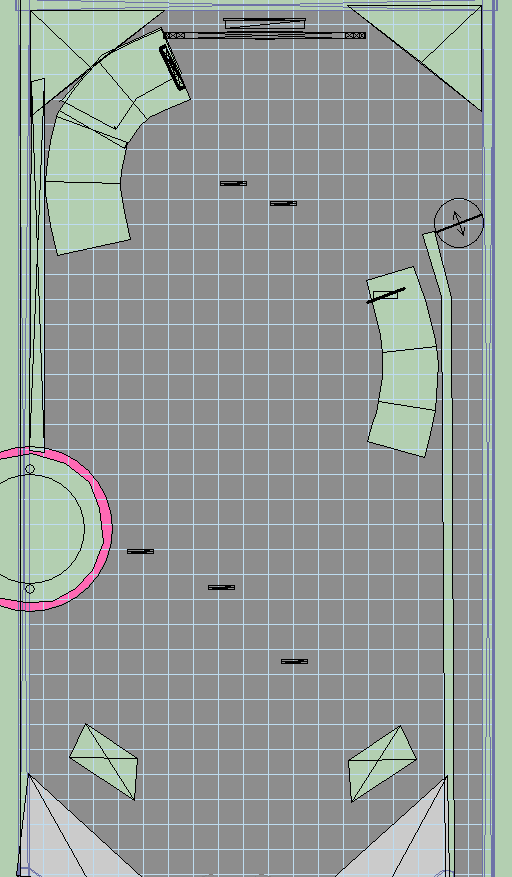
This was my first time working with Visual Pinball, and while I had high hopes, my progress was slower than I expected. My first digital prototype was essentially a wireframe version of my Pinbox. I focused on function over form, mapping the ball flow, adjusting ramps, and adding invisible walls to fix areas where the ball would get stuck in the physical version.
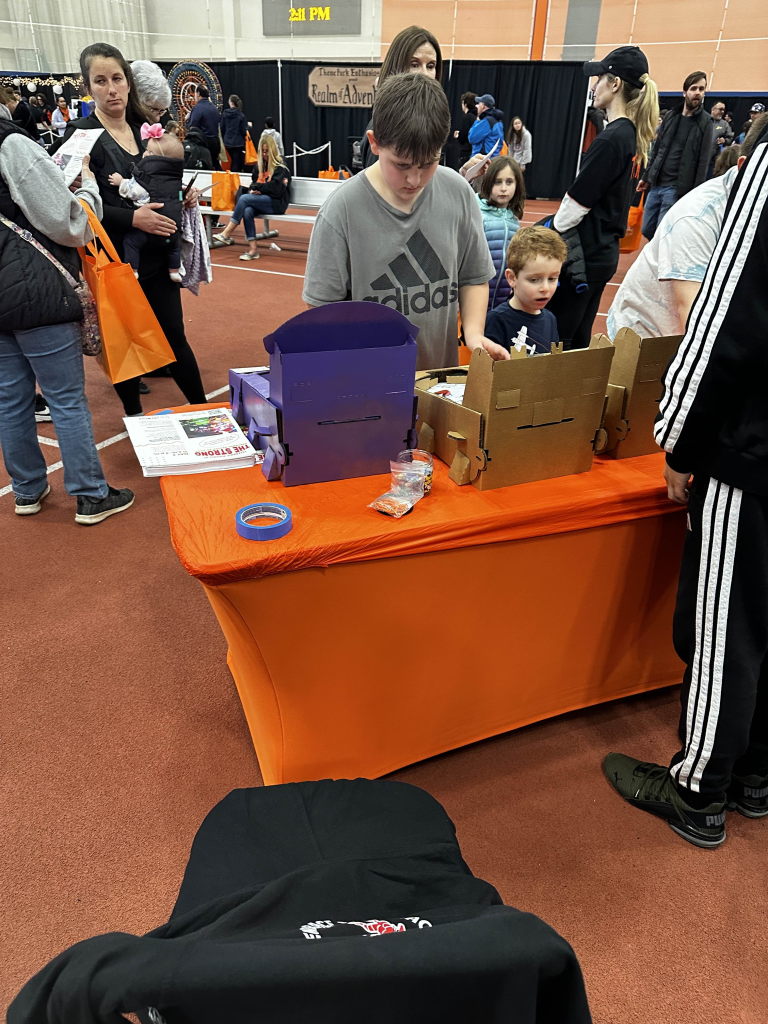
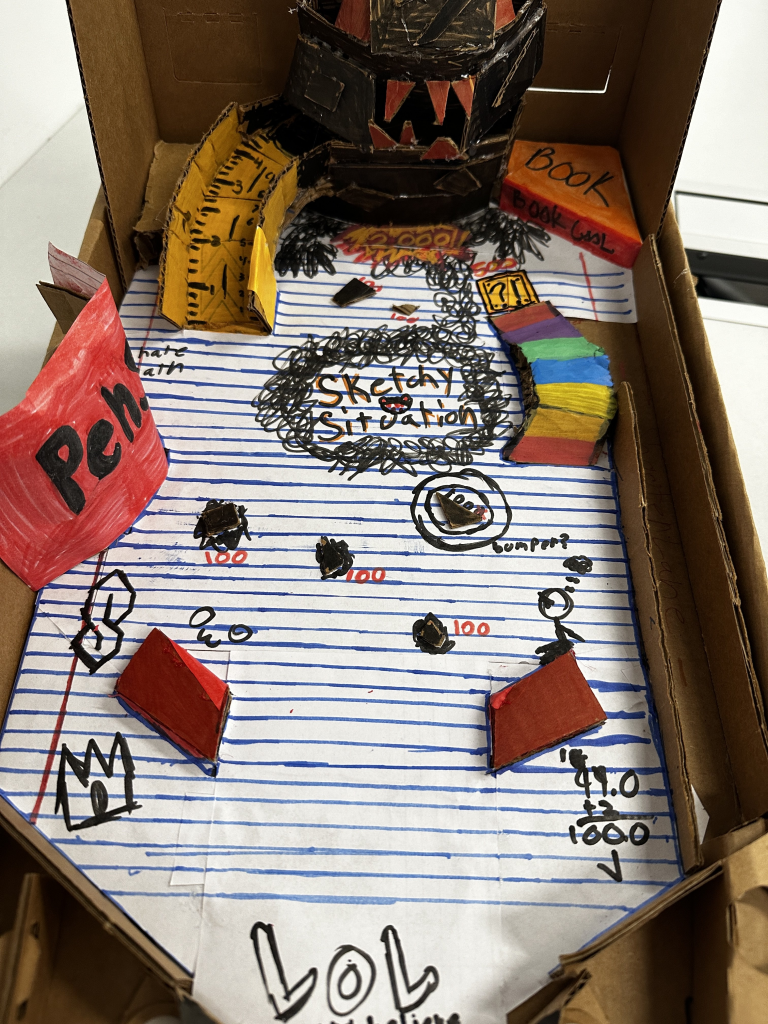
I did make some smart mechanical tweaks during this phase. For example, the pencil cup at the bottom became a point bumper instead of a purely decorative element. I also ensured that the main ramp and top area had proper ball physics to avoid the jamming issues I had encountered during the Strong Museum event.
Final Digital Design
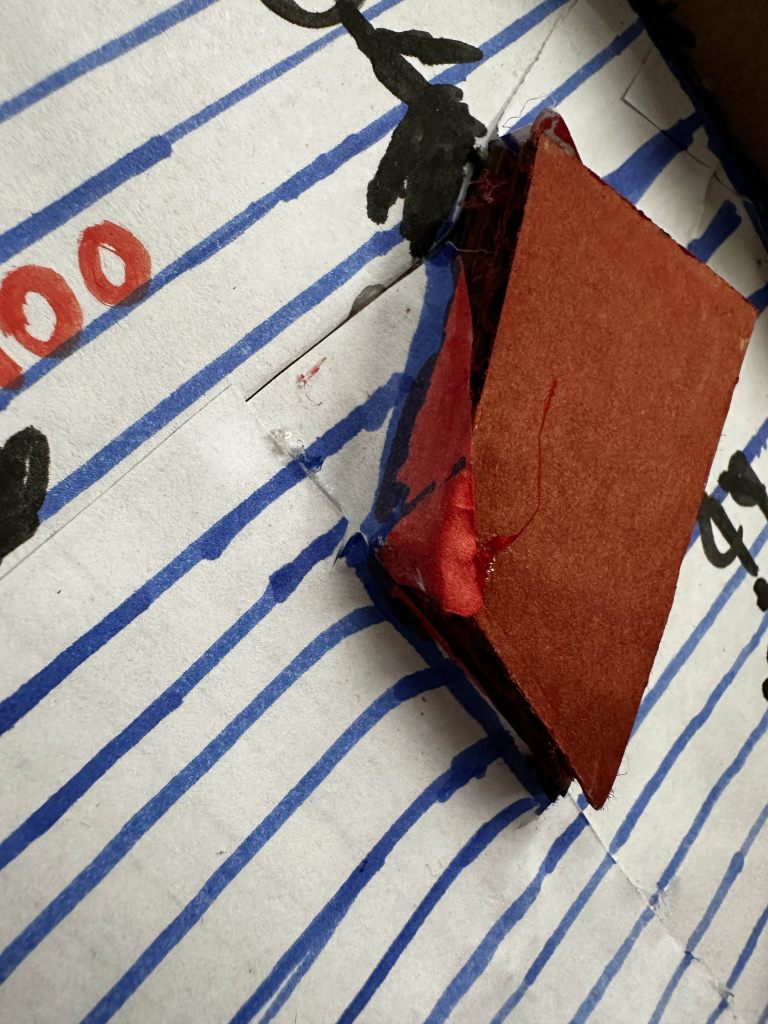
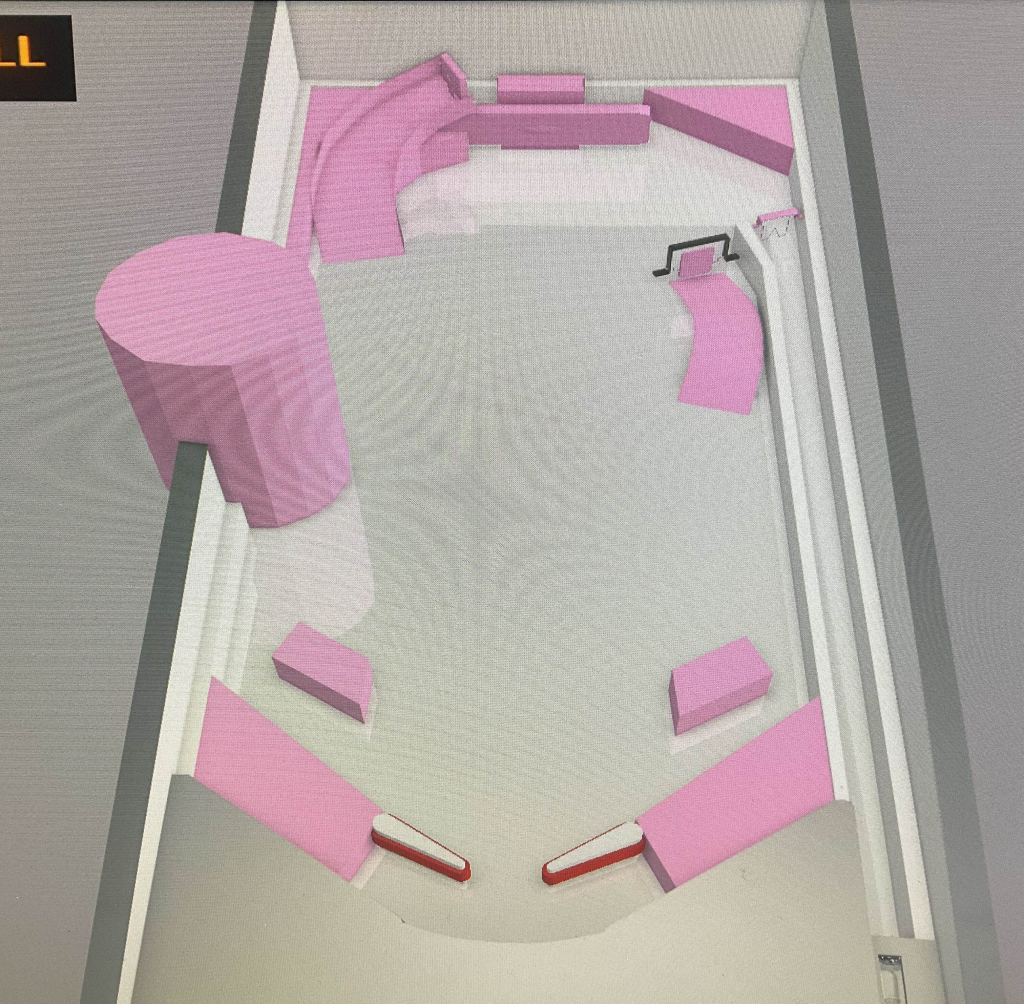
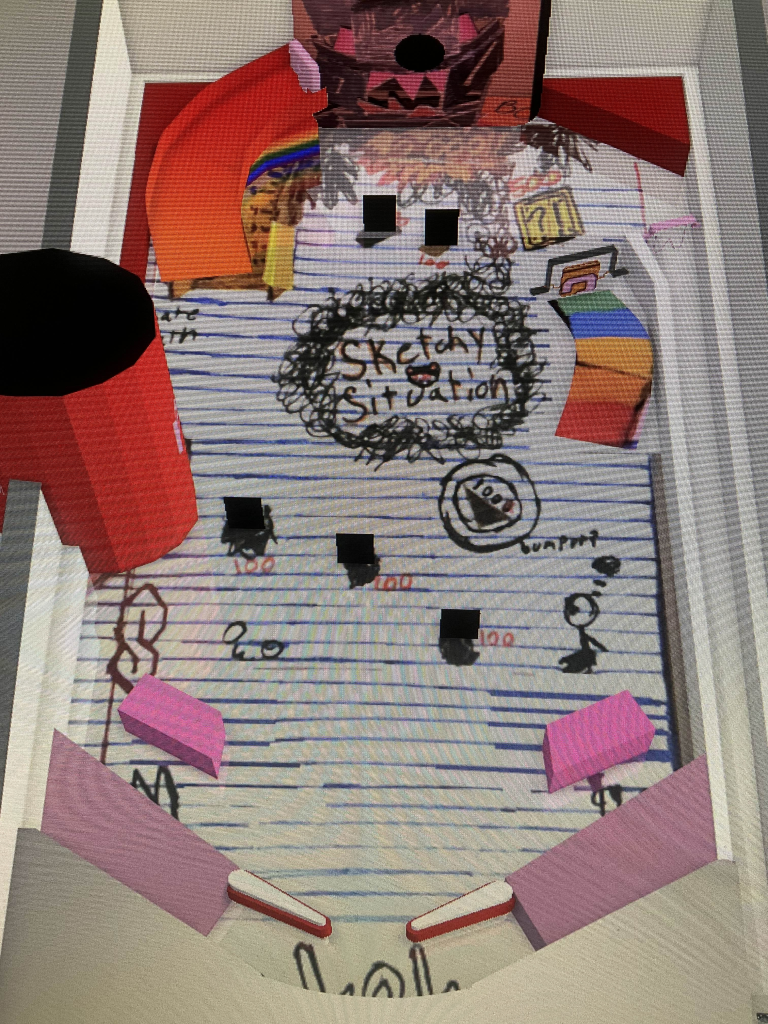
In my final version, I added visual elements to bring the game to life. Unfortunately, this is where I fell short. Rather than designing new assets specifically for the digital format, I scanned pieces of my cardboard pinball machine and used them as graphics. While this helped maintain the original art style, it didn’t translate well into a digital environment. The result felt flat and a little unpolished.
I also added drop targets to represent the monster’s attacks, giving players point-scoring opportunities that echoed the ink splotches from the physical design. While the functionality was there, the presentation didn’t live up to my expectations.
To be honest, this final version might be the project I’m least proud of in the class. I spent so much of my energy on the physical build that my digital one ended up feeling more like a rushed port than a proper sequel. I watched tutorials, explored Visual Pinball features, and tried to make the most of what I understood, but I struggled with the tool and it shows in the final product.
Playtesting Reactions
Playtesting for the digital version echoed the physical one in terms of layout and mechanics. Since I kept the designs almost identical, players immediately understood the rules. The new point system added a welcomed layer of engagement, and people enjoyed seeing their score rack up for different actions.
However, the most consistent feedback was about the visuals. Players said the game felt “unfinished” or “messy,” mostly due to the scanned cardboard textures. While the physical aesthetic worked great in real life, it didn’t feel intentional or refined when brought into the digital world. If I had more time, I would definitely focus on creating unique, stylized assets tailored for screen use.
Citations
- All scanned art assets were taken from my physical Sketchy Situation pinball machine.
- Question mark block used