Initial Thoughts
Going into designing with Visual Pinball, I wanted to keep it simple and take ideas from previous designs, but primarily from my advanced design.
I wanted to make something with ramps and a second level again as I wasn’t too happy with how my advanced design turned out. As I wouldn’t have to worry too much about having well-built ramps where balls don’t get stuck, I was looking forward to it.
Designing it

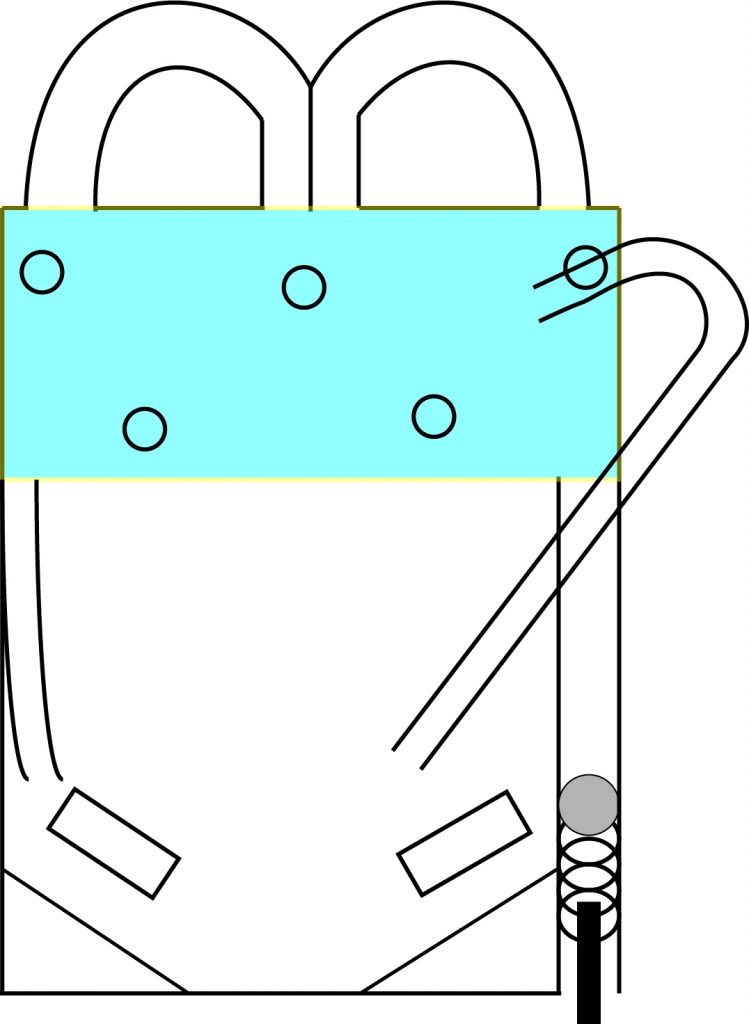
The initial design I came up with wasn’t too different from my advanced design; there is an external ramp that was added in and instead of spinners to interact with on the second level, I planned on using bumpers.
I wanted to create a smooth flow of the ball going around the ramps and easy skill shots so getting up the ramps happen a lot more often.
Making it
As I moved on to actually start building my design, some things had changed:
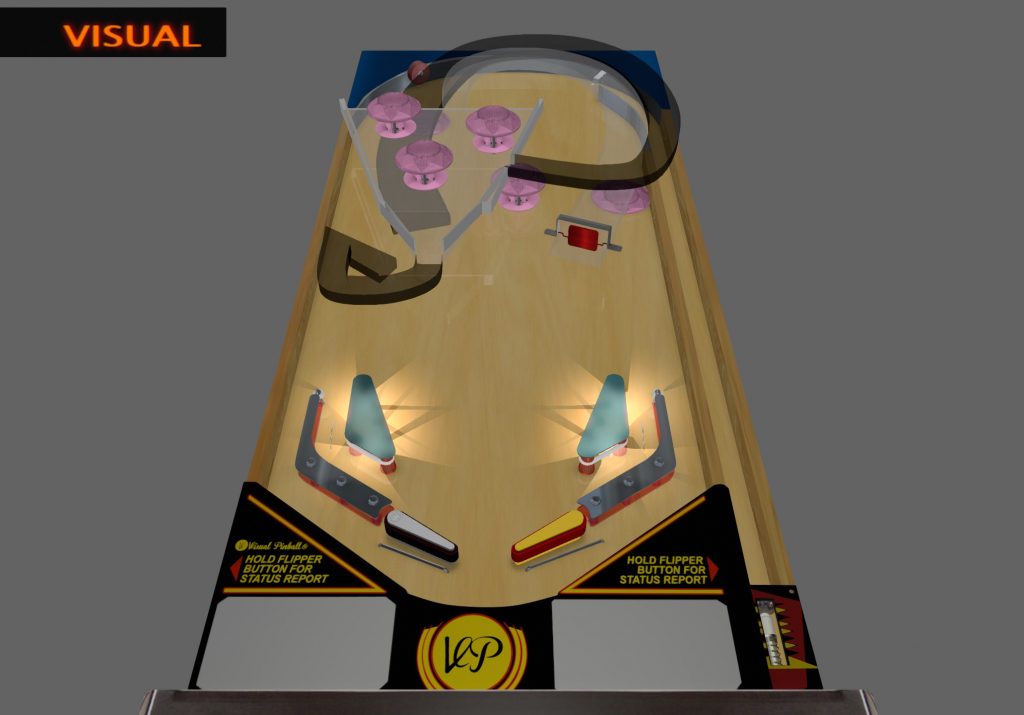
- The second level didn’t cover up the entire width of the machine
- There are only two ramps that led up to the upper level
- Removal of the external ramp

I had made the second level much narrow due to not being able to get external ramps to work. I haven’t been able to figure it out but for some reason, the ball would get stuck halfway through the loop and would not budge. Thus I had to give up on the external ramp and settle for simple internal ramps.
Alongside the compromises I made for the external ramps and upper level, I had created fewer ramps than I had initially thought to due to space limitations.
The ramps I was creating were taking up a lot more space than I initially thought it would and only was able to fit two in.
In the end
I think I had built something that I was thinking of from the beginning. It’s definitely rough around the edges but those are things I can learn from and take with me.

